

GoChat overview
GoChat brings customer chats from Facebook pages, Instagram accounts, LINE OA accounts and online shops into one inbox so everyone in the shop can reply together, with auto-reply bots, saved replies and broadcasts. All main menus are in the left menu bar, grouped by task. Everyone in the shop can use GoChat; some pages can only be edited by the เจ้าของร้าน (Shop owner).
Using the left menu bar
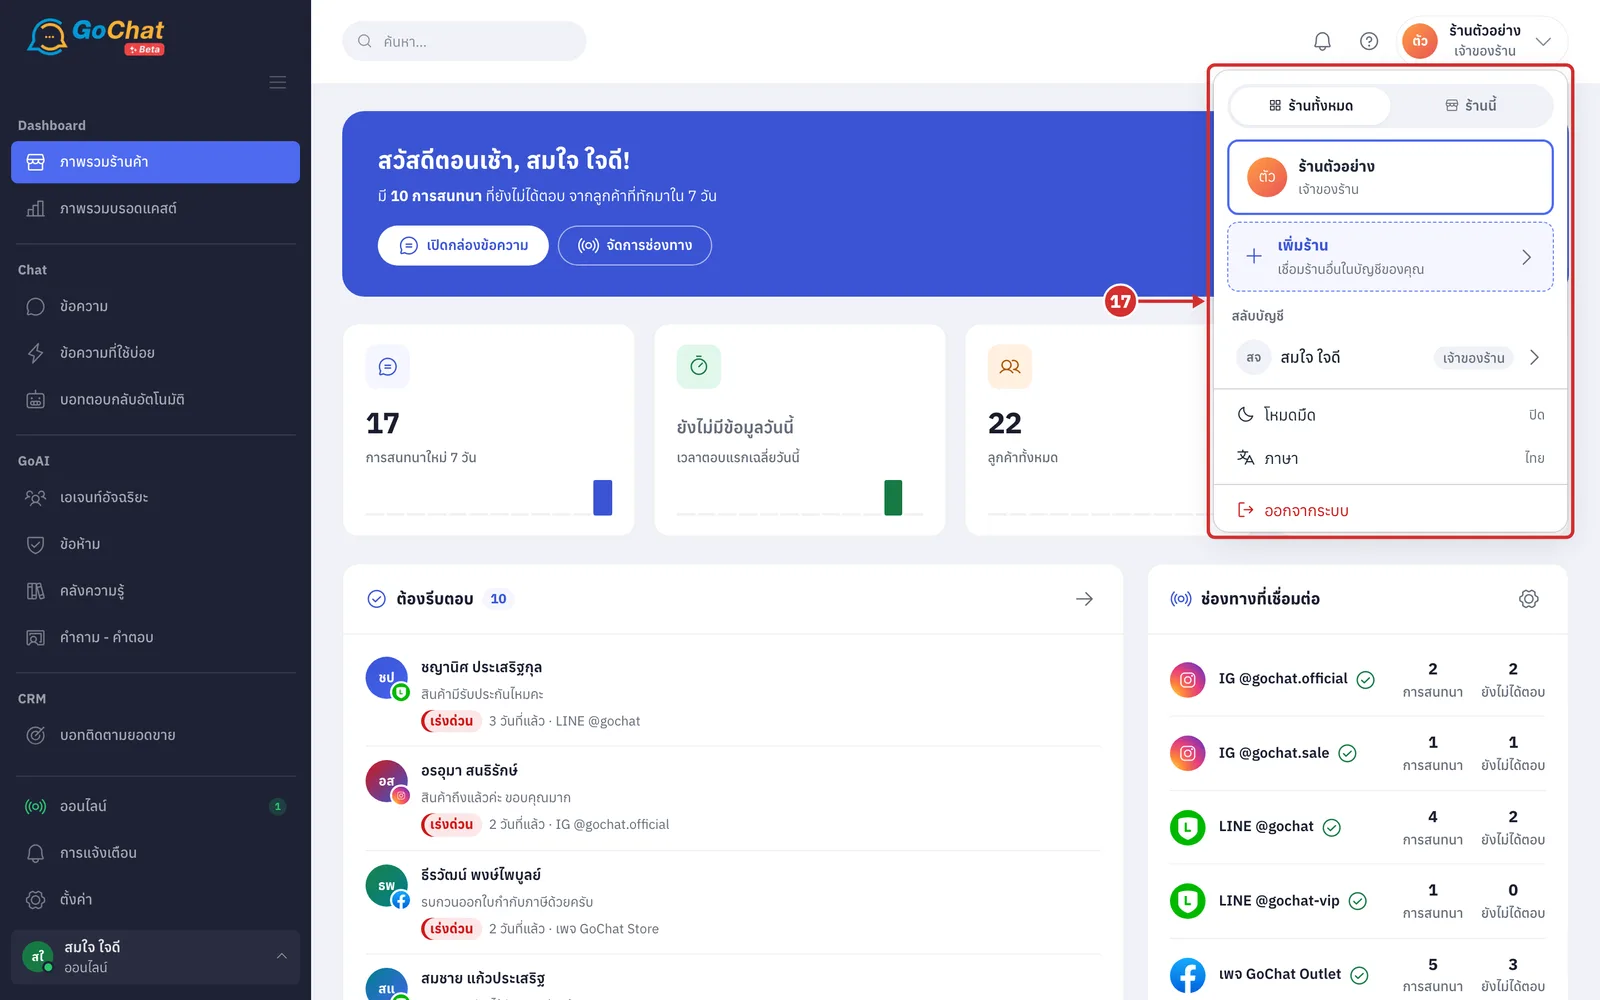
Under Dashboard, choose ภาพรวมร้านค้า (Store overview) to see your shop's key numbers, such as new conversations in 7 days, today's average first response time and chats that need a reply soon, or choose ภาพรวมบรอดแคสต์ (Broadcast overview) to see broadcast statistics (Shop overview; click the GoChat logo at the top left to come back to ภาพรวมร้านค้า (Store overview) at any time)
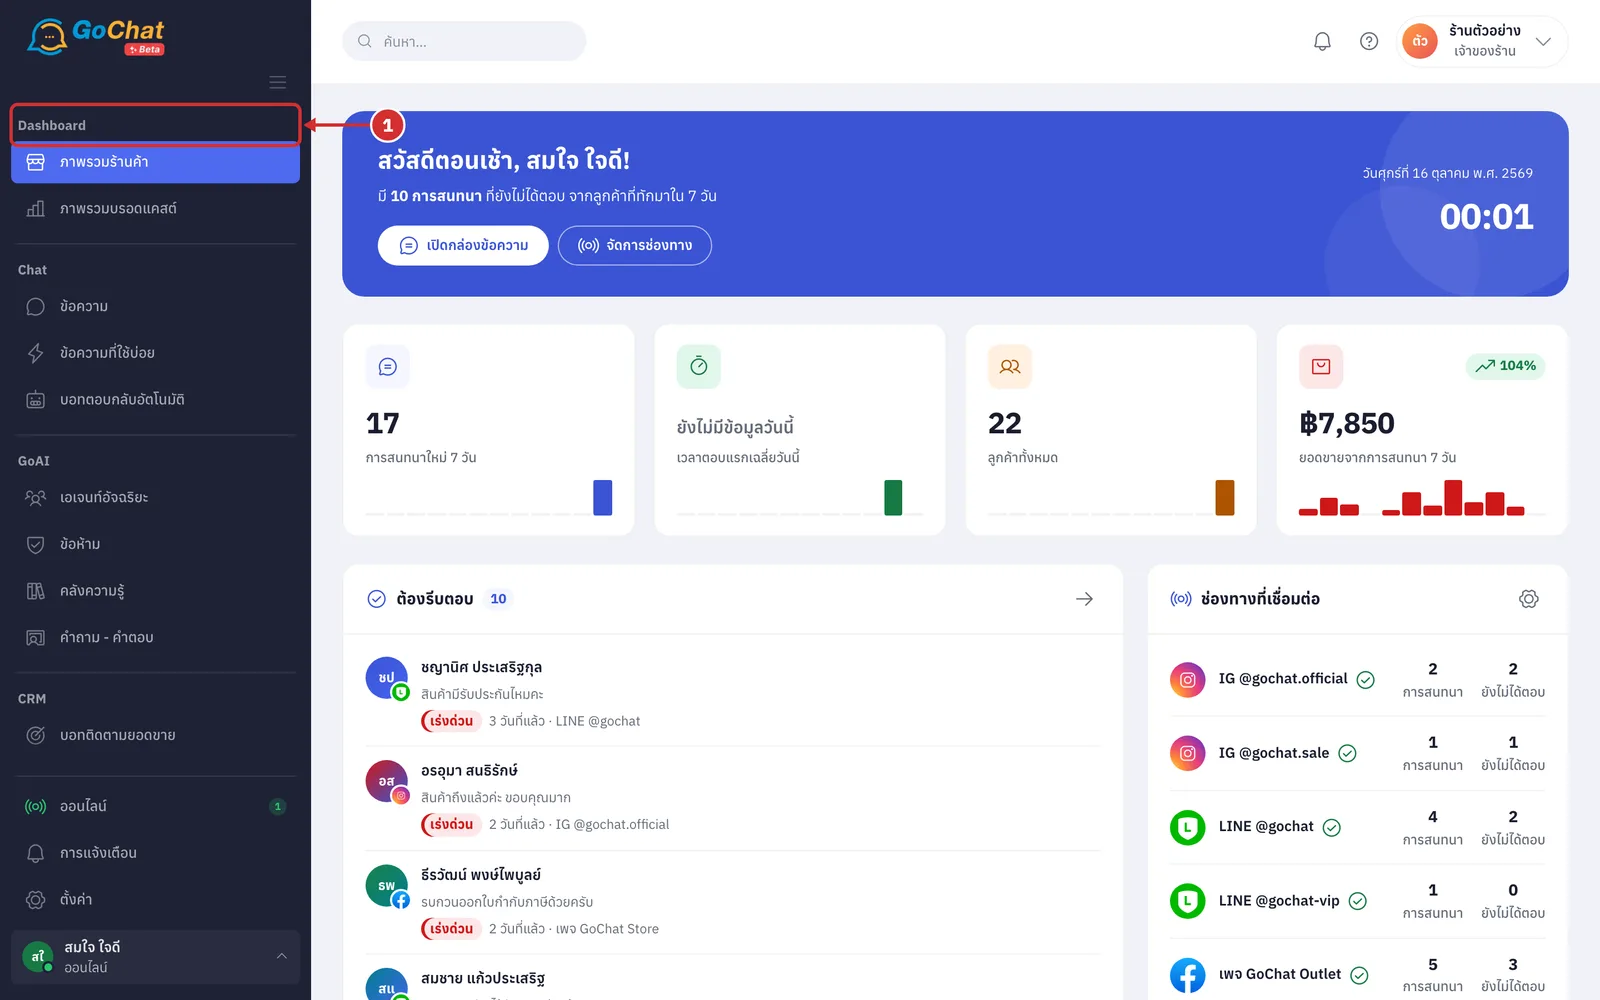
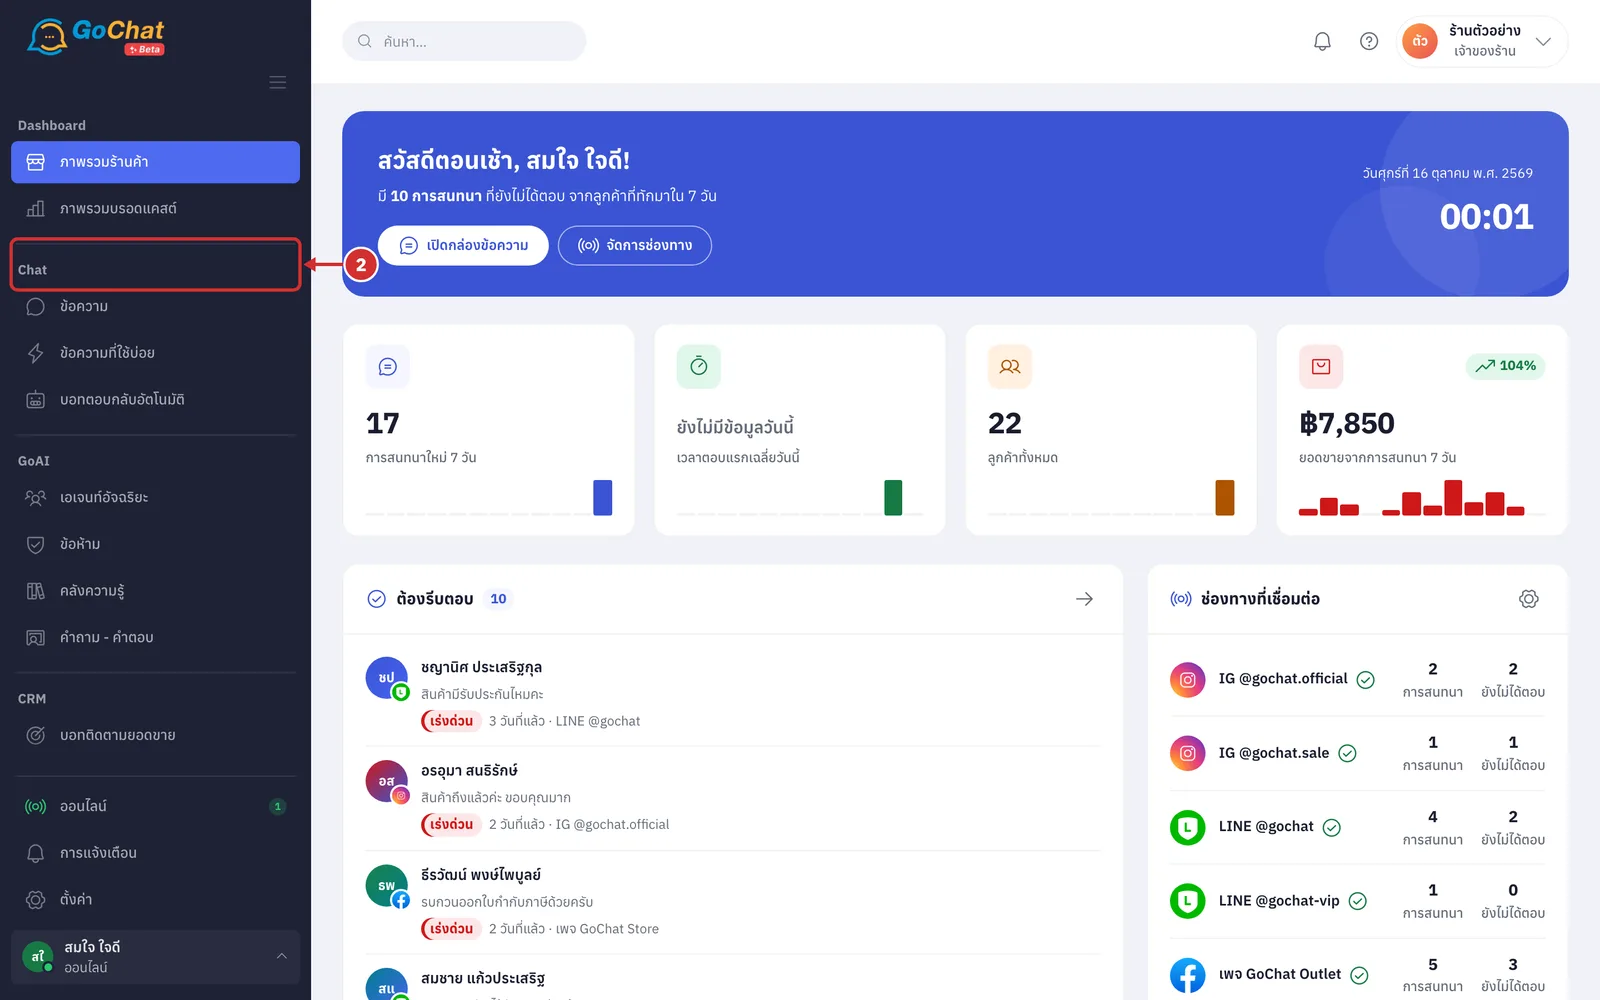
Under Chat, choose ข้อความ (Messages) to reply to customers from every channel (Replying to customer chats), ข้อความที่ใช้บ่อย (Saved replies) to keep replies you type again and again, or บอทตอบกลับอัตโนมัติ (Auto-reply bot) to set the messages the bot sends customers for you
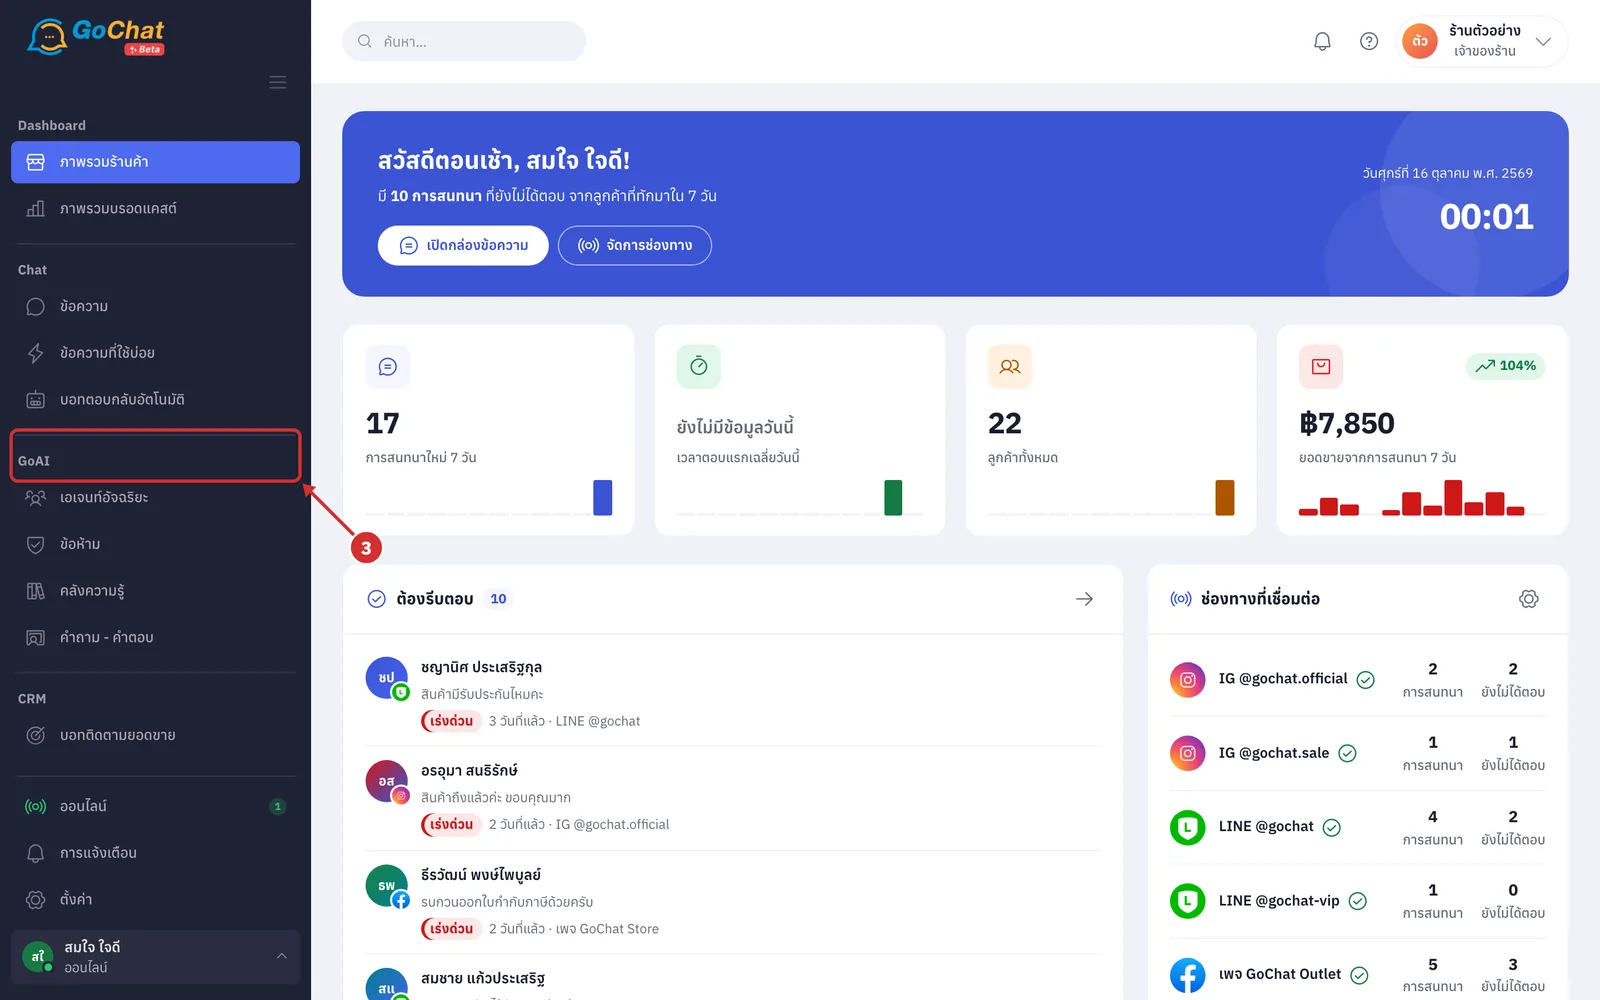
The GoAI group has เอเจนท์อัจฉริยะ (AI agents), ข้อห้าม (Guardrails), คลังความรู้ (Knowledge base) and คำถาม - คำตอบ (Q&A) for setting up an AI assistant that answers customers
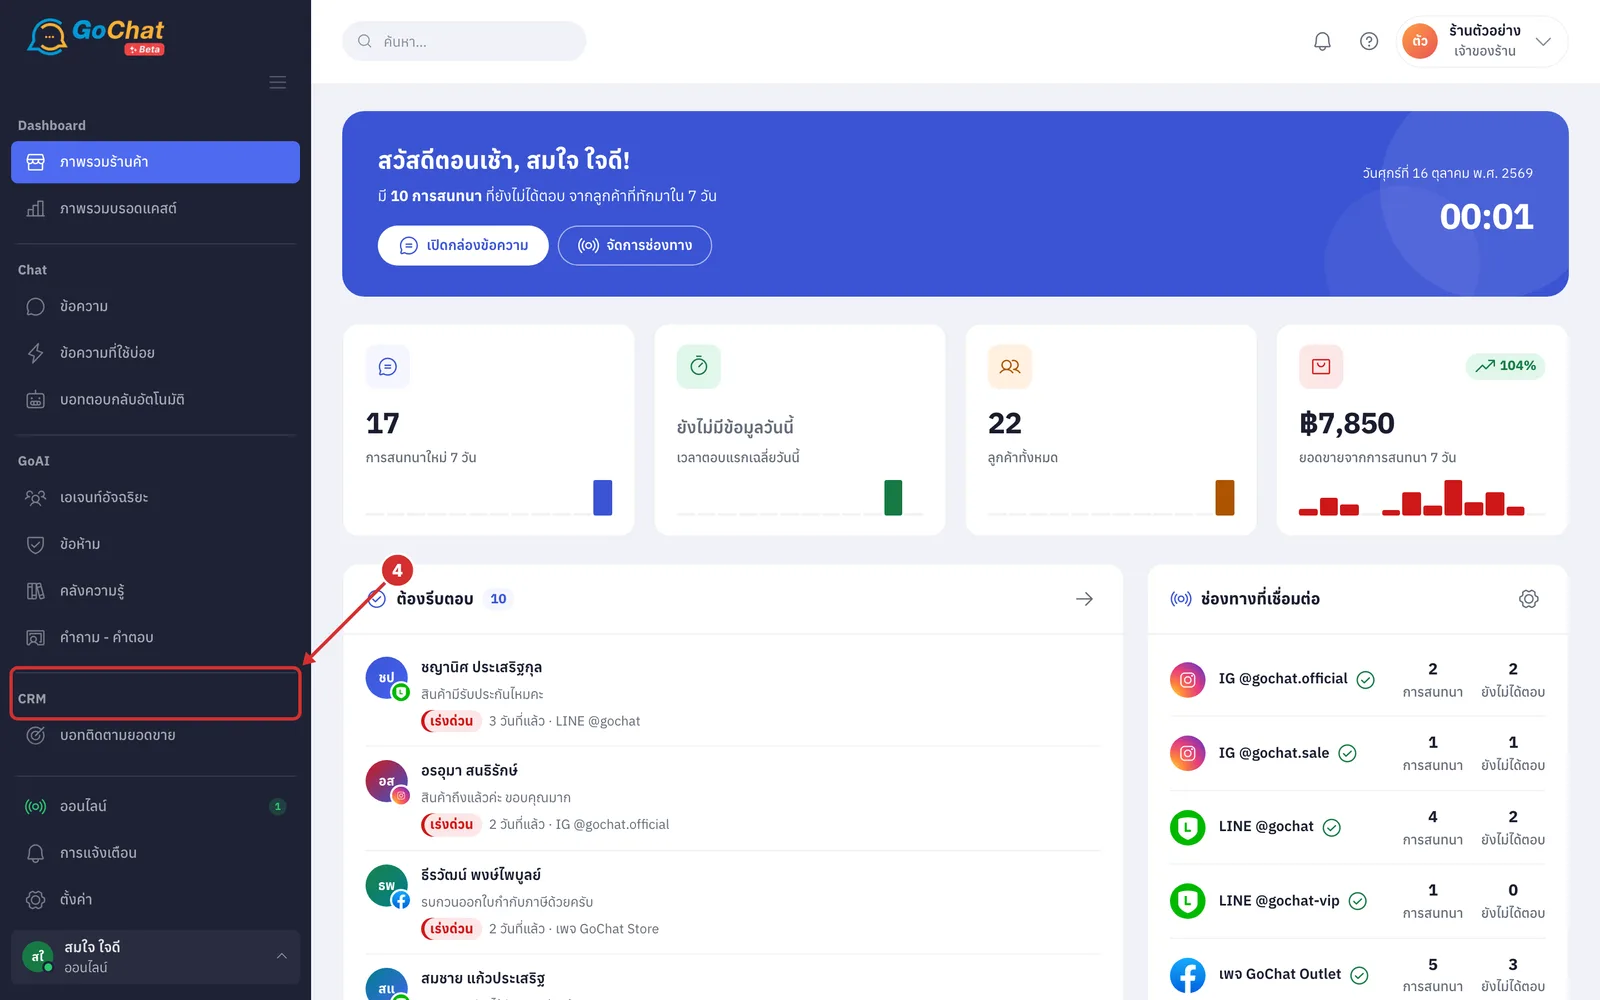
Under CRM, choose บอทติดตามยอดขาย (Sales follow-up bot) to set up a bot that messages customers who have gone quiet, following the steps you set, within 24 hours of the customer's last message (Creating a sales follow-up bot)
The CF Live group has ห้องควบคุม (Control room) and ตั้งค่า (Settings) for selling through live streams
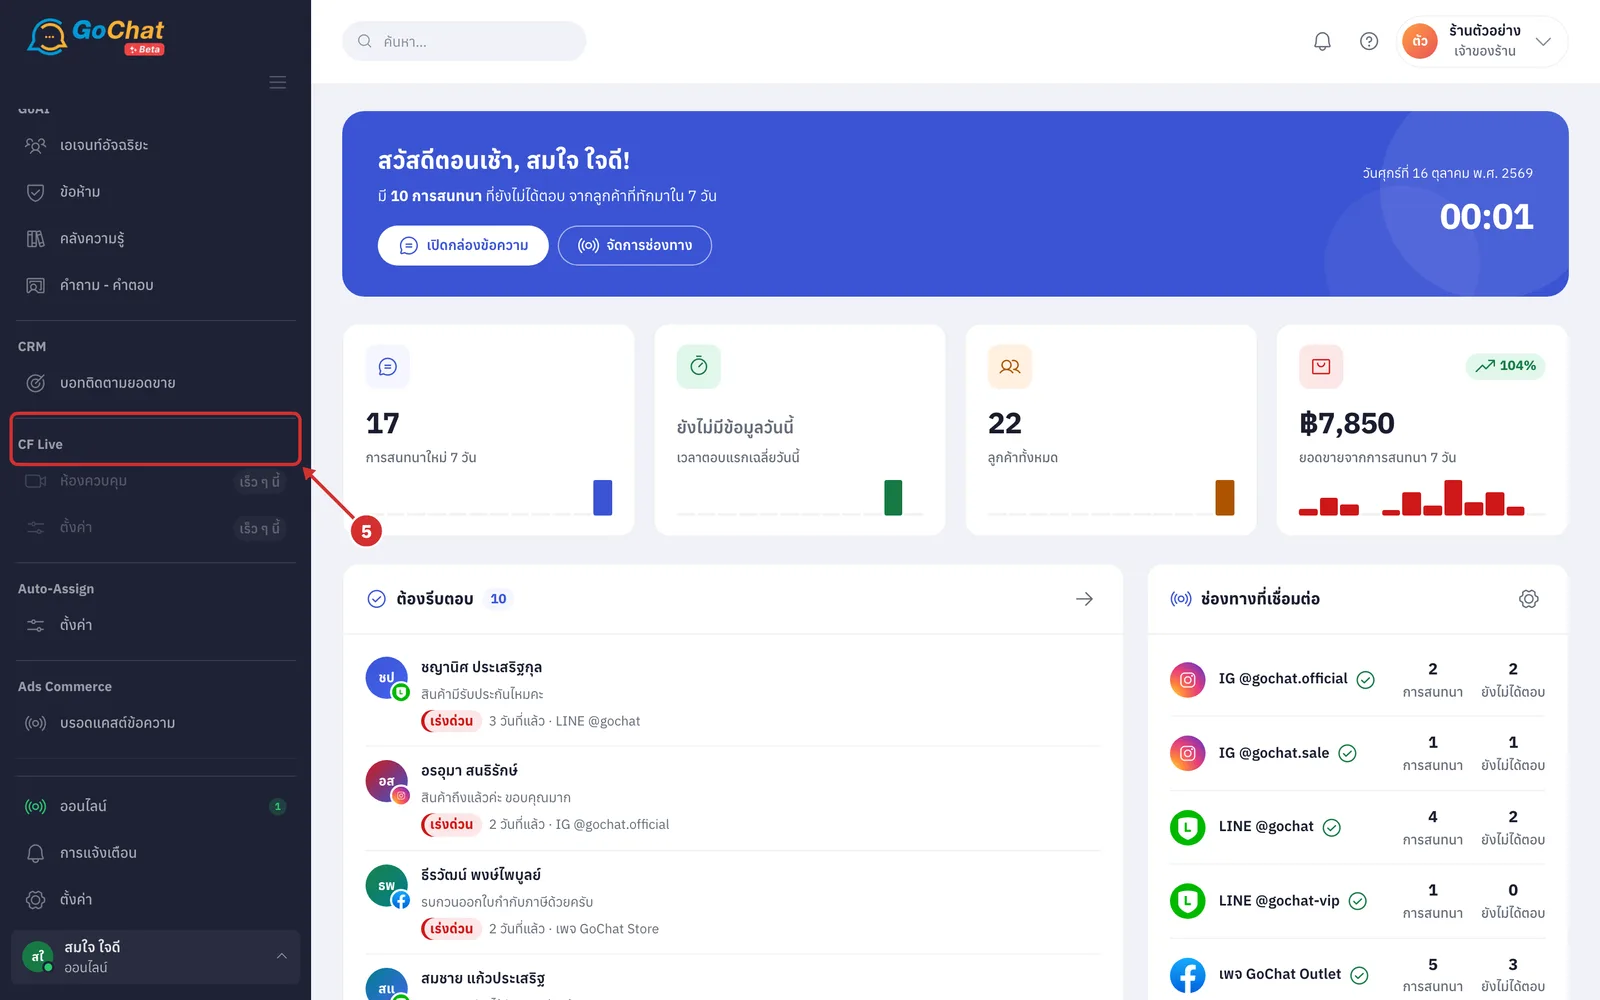
Under Auto-Assign, choose ตั้งค่า (Settings) to decide which admin gets each new chat (Turning on chat assignment). After it is turned on, shop owners and leads also see ห้องควบคุม (Control room) for live views of chats waiting to be taken and the team's status
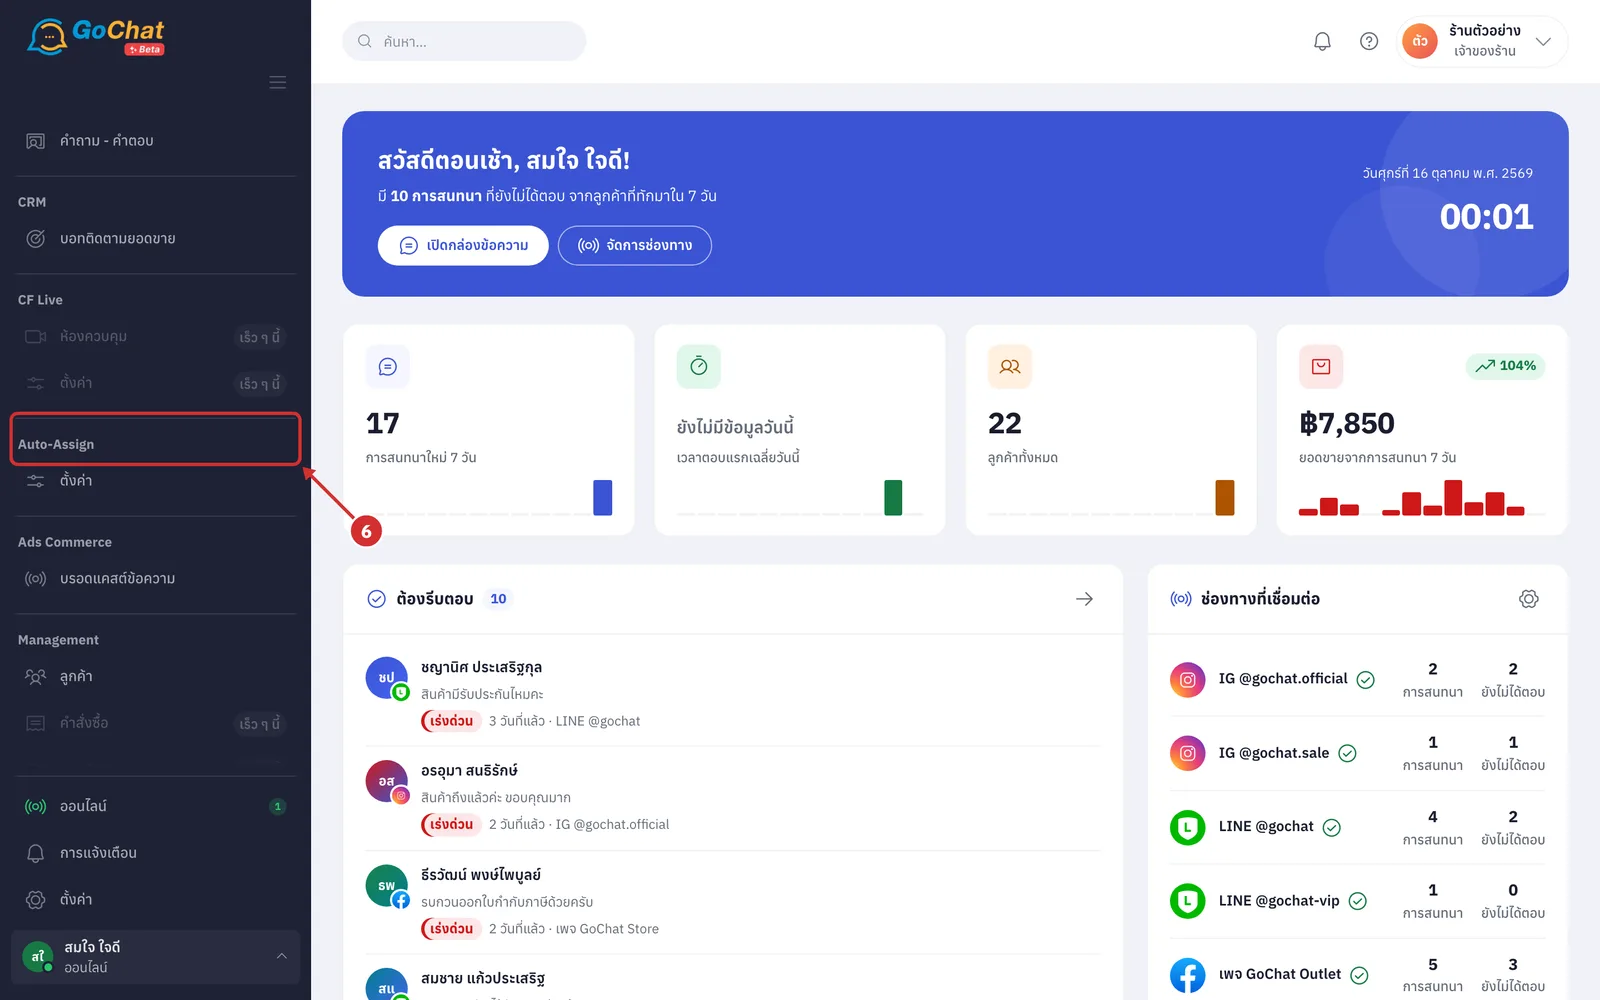
Under Ads Commerce, choose บรอดแคสต์ข้อความ (Broadcast messages) to create broadcasts sent from LINE OA and schedule when they are sent
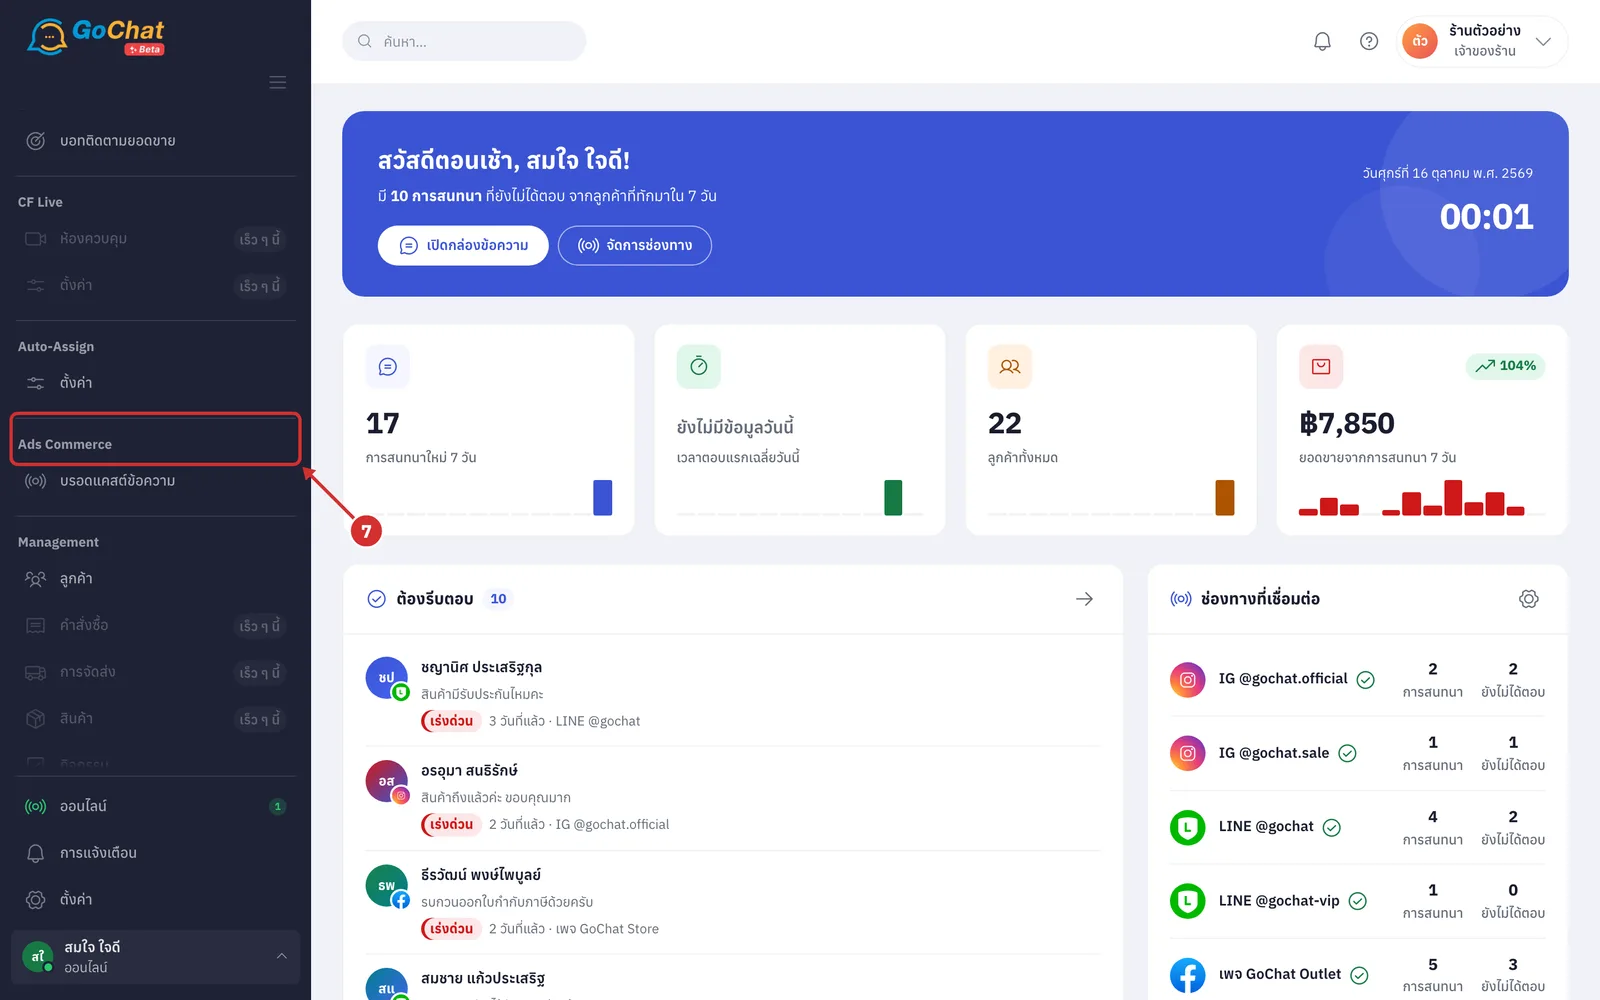
Under Management, choose ลูกค้า (Customers) · กิจกรรม (Activities: follow-up tasks with customers, sorted by due date) · ใบงาน (Tickets) · คลังไฟล์ (Drives: your shop's photos, videos and documents in one place) · เทมเพลตข้อความ (Message templates) · ผู้ใช้งาน (Users: who can access this shop and in which role). The group also has คำสั่งซื้อ (Orders), การจัดส่ง (Shipping) and สินค้า (Products)
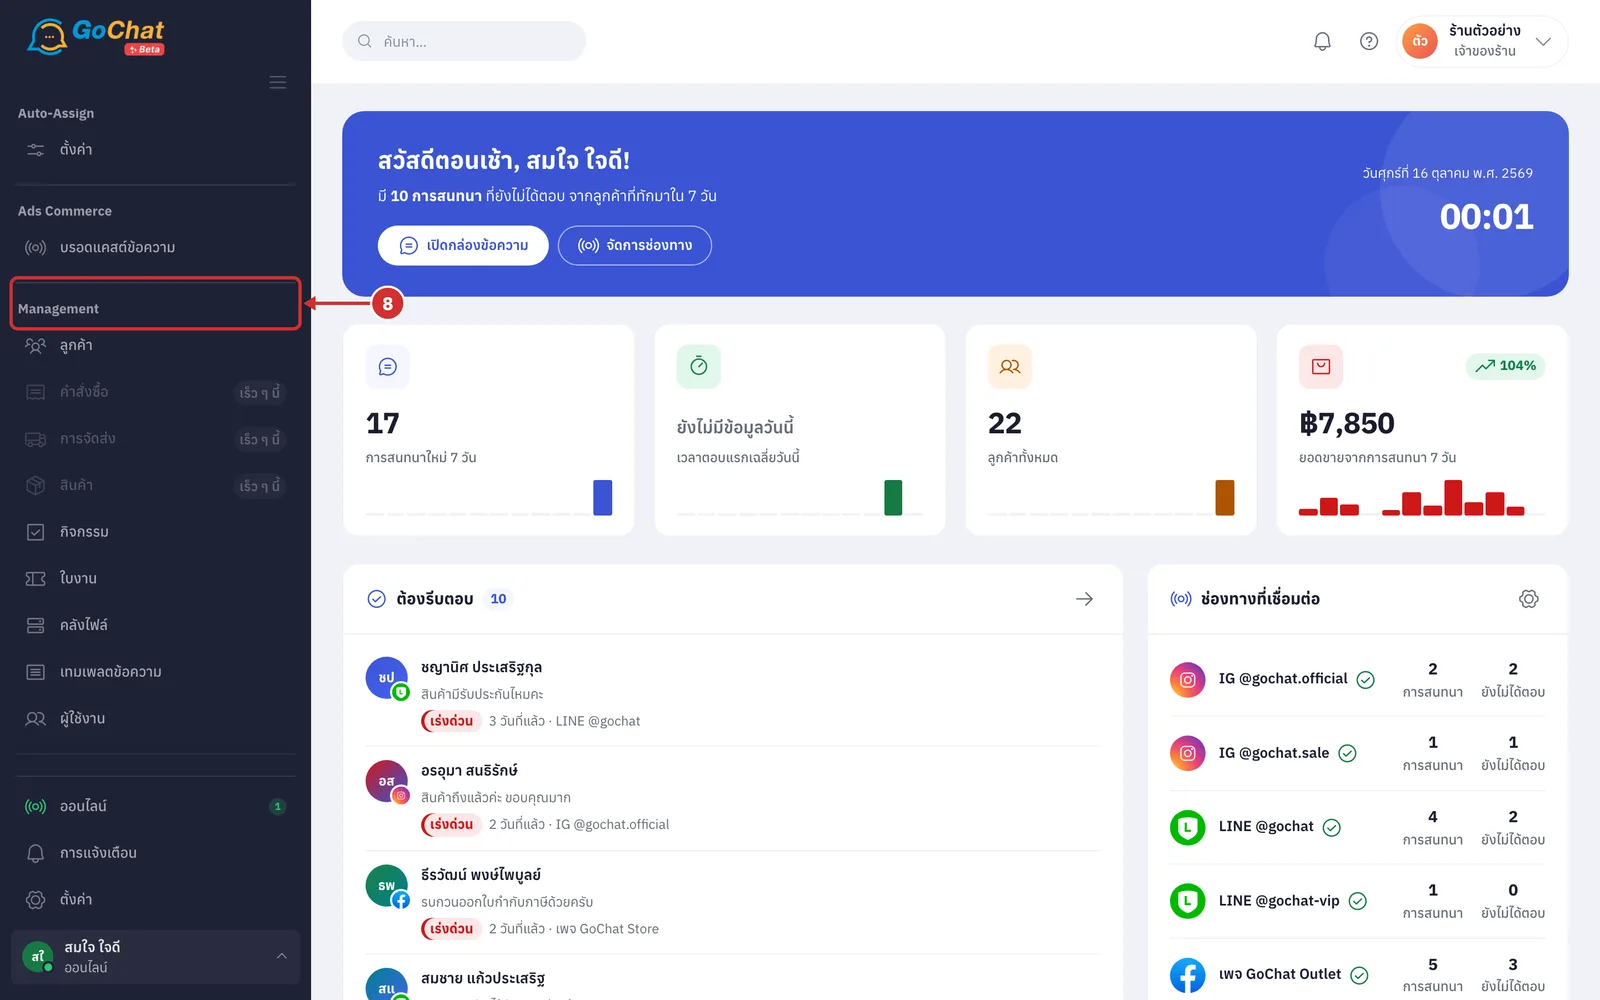
Under Setting, choose ช่องทางแชท (Chat channels) to connect and check your channels (Managing chat channels), or แพ็กเกจ (Package) to view and buy a package (Choosing and buying a package)
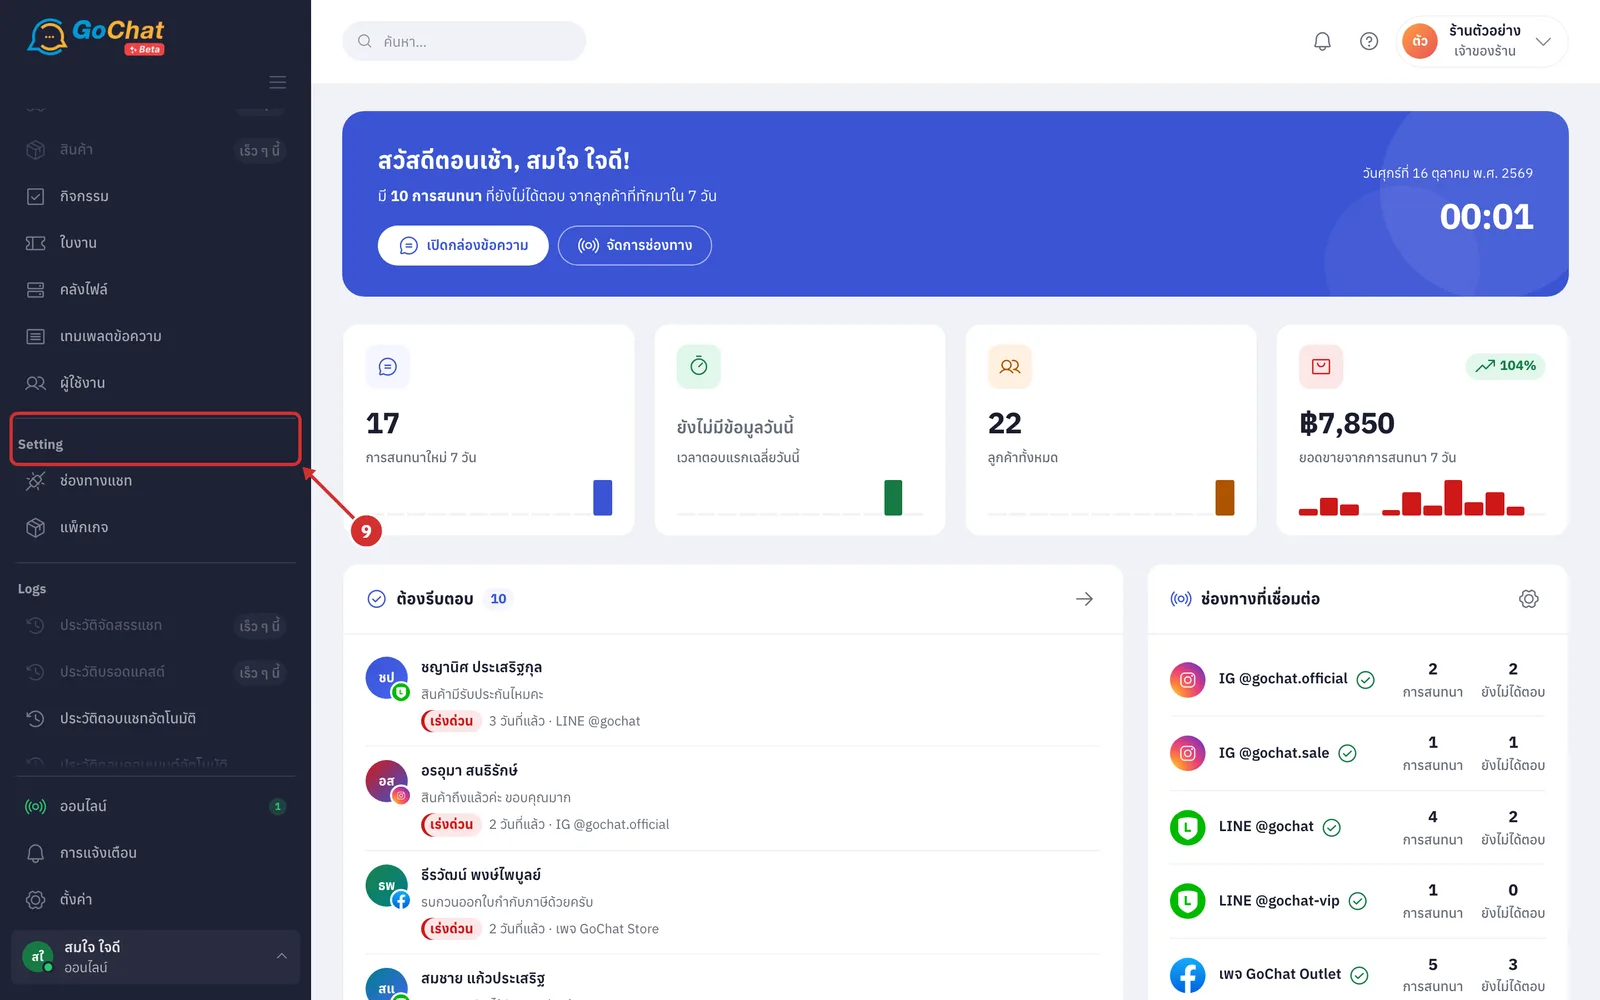
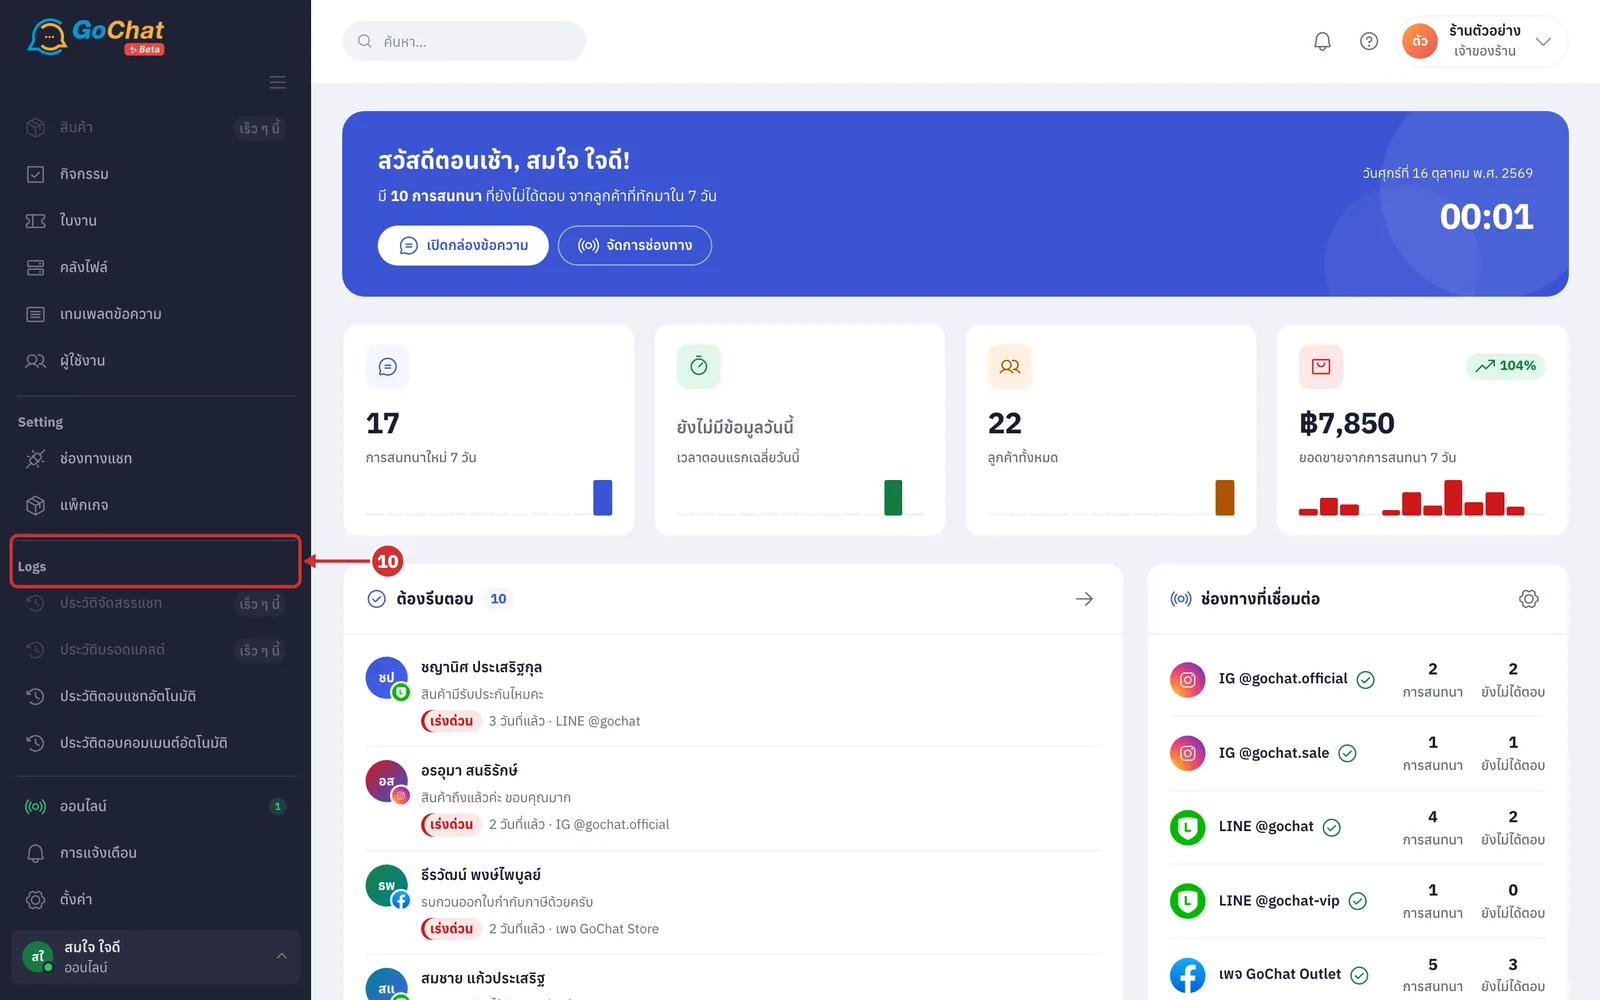
Under Logs, choose ประวัติตอบแชทอัตโนมัติ (Auto-reply chat history) or ประวัติตอบคอมเมนต์อัตโนมัติ (Auto-reply comment history) to see what the bot replied, to whom, when, and why it did not reply. Choose ประวัติจัดสรรแชท (Chat assignment history) to see chat assignment history, or ประวัติบรอดแคสต์ (Broadcast history) to see broadcast sending history
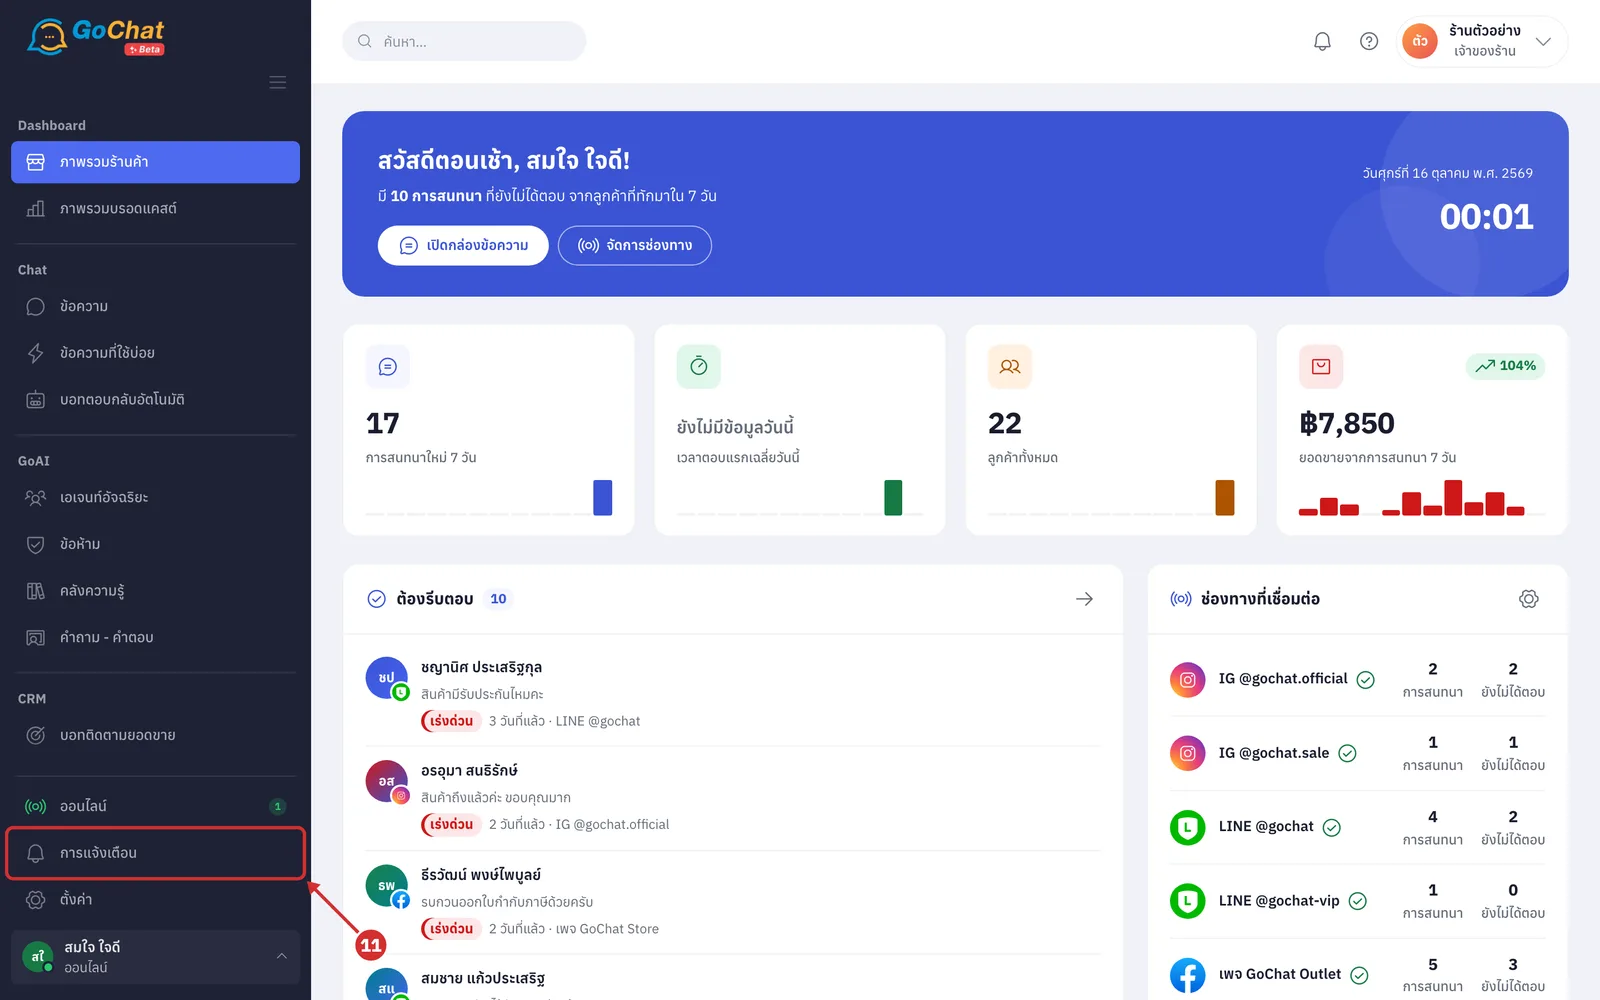
At the bottom of the menu bar, choose การแจ้งเตือน (Notifications) to set the alert sound for new messages (Notification settings)
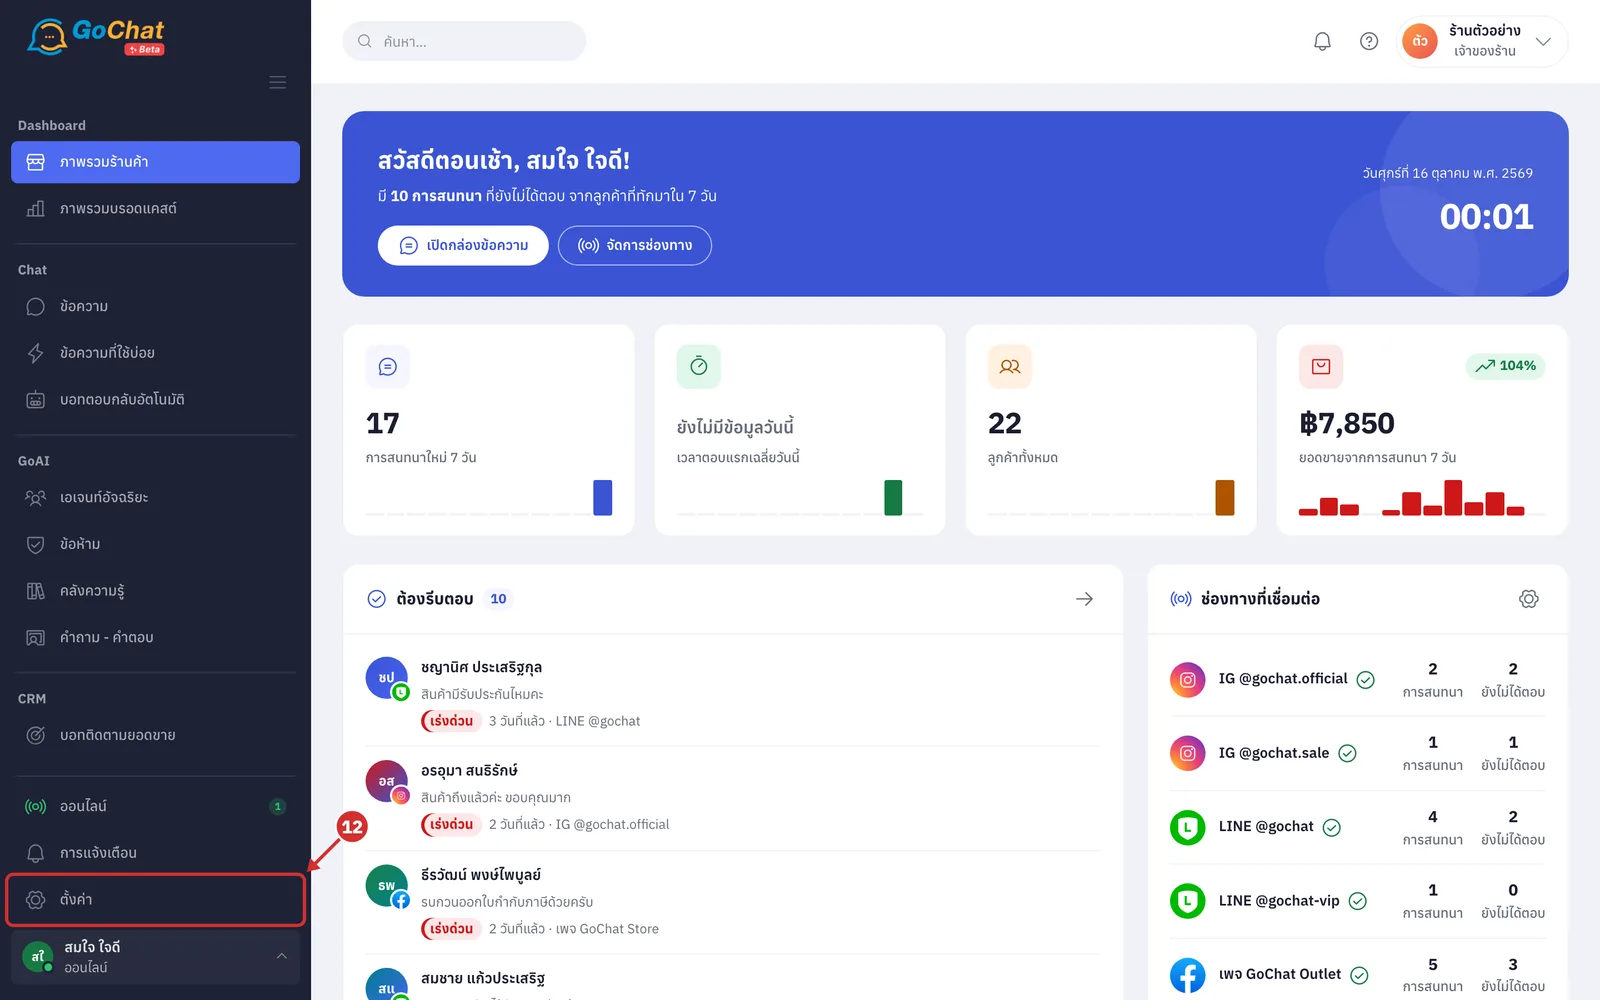
At the bottom of the menu bar, choose ตั้งค่า (Settings) to set up your shop, such as shop info (Shop settings)
Seeing who is online and setting your status
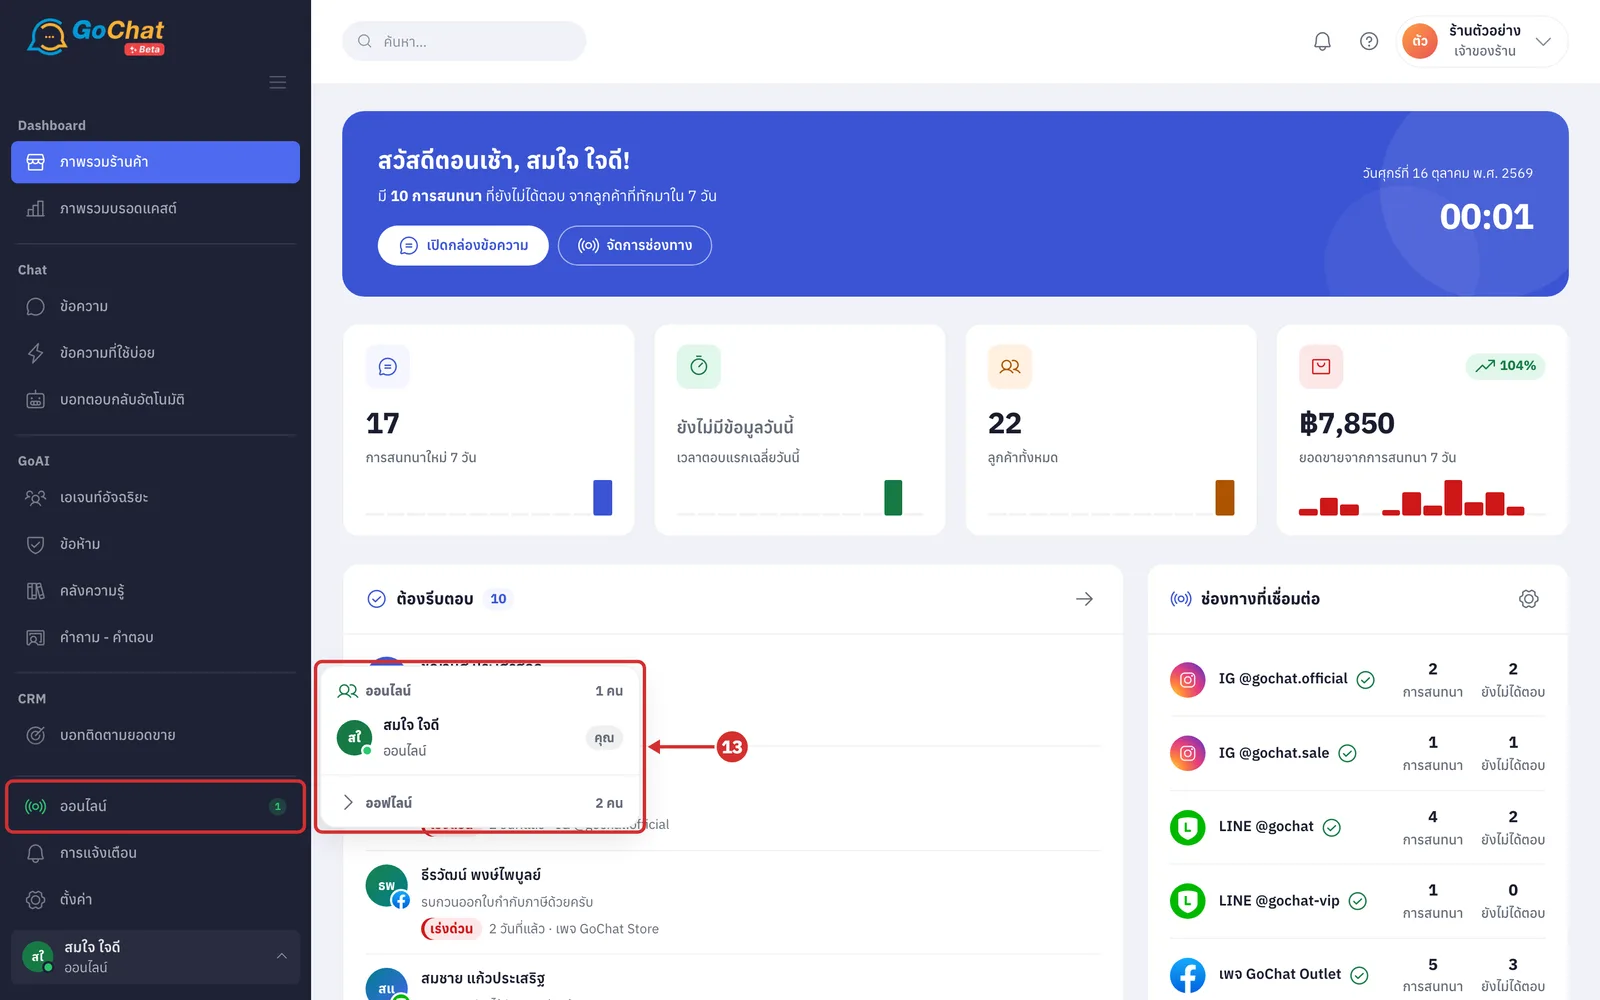
Click ออนไลน์ (Online) at the bottom of the menu bar to see who in your shop is online right now (the list is split into ออนไลน์ (Online) and ออฟไลน์ (Offline) with each person's status; the number next to the button is how many people are online)
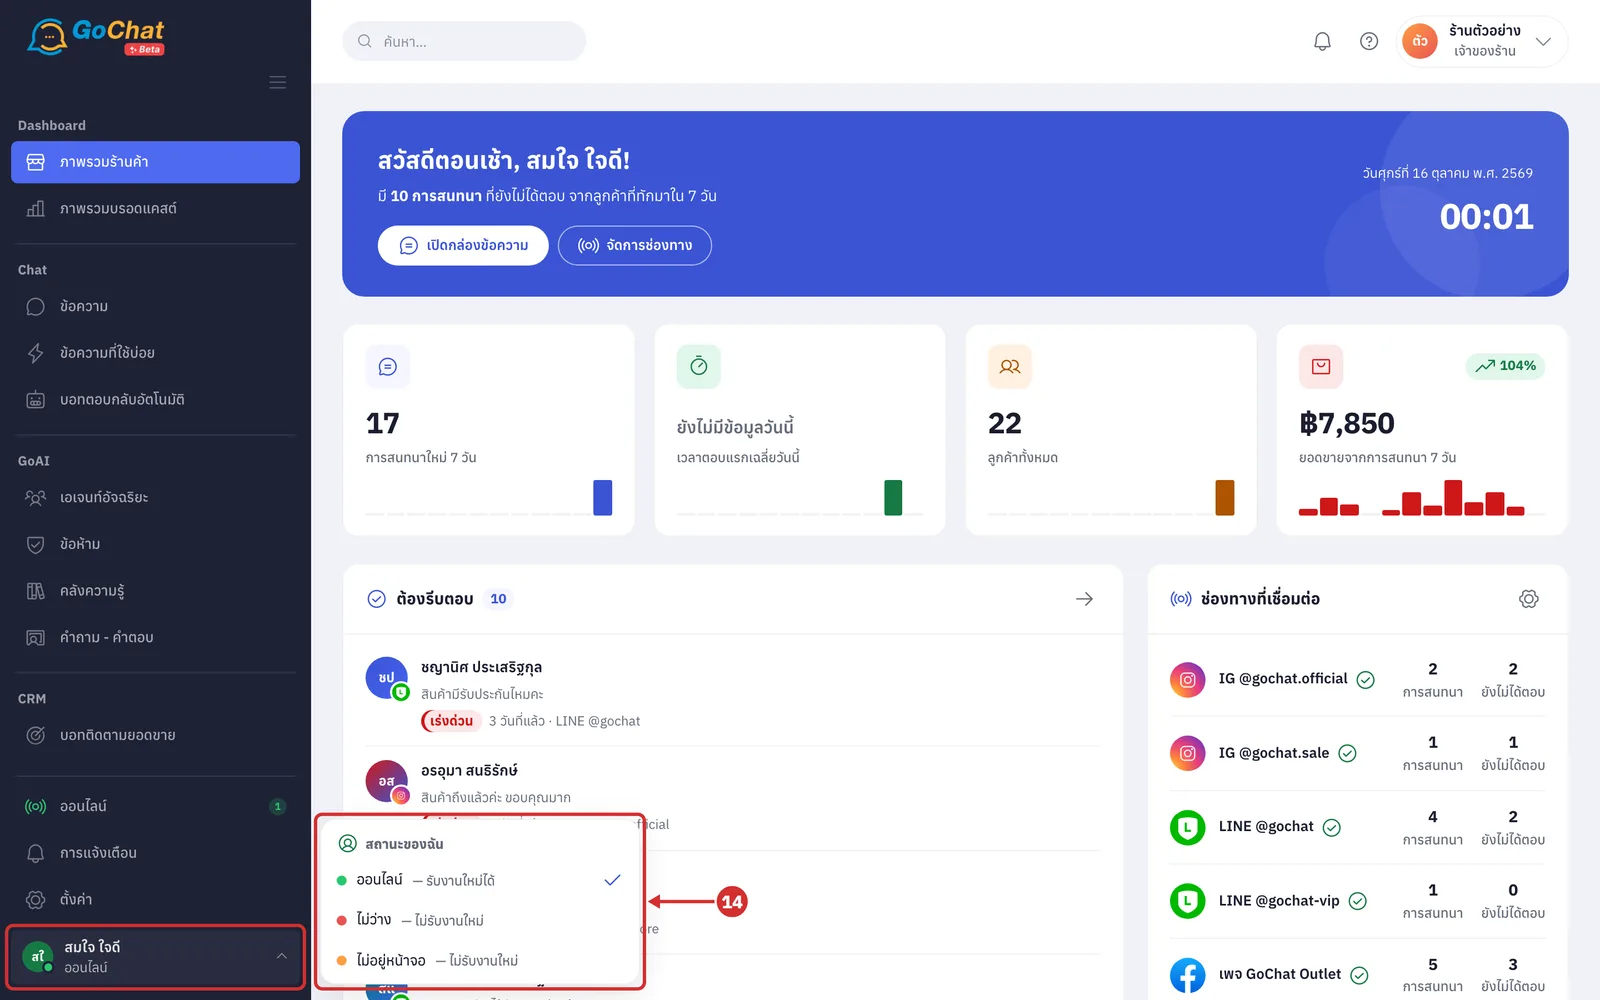
Click your name at the very bottom of the menu bar to change your status. There are 3 statuses:
ออนไลน์ (Online) — can take new work
ไม่ว่าง (Busy) — does not take new work
ไม่อยู่หน้าจอ (Away) — does not take new work
In shops that use chat assignment, this menu also has เข้างาน (Clock in) / ออกงาน (Clock out), a reason for breaks, how many chats you are handling, and a รับแชทร้านนี้ (Take chats for this shop) switch
Using the top bar
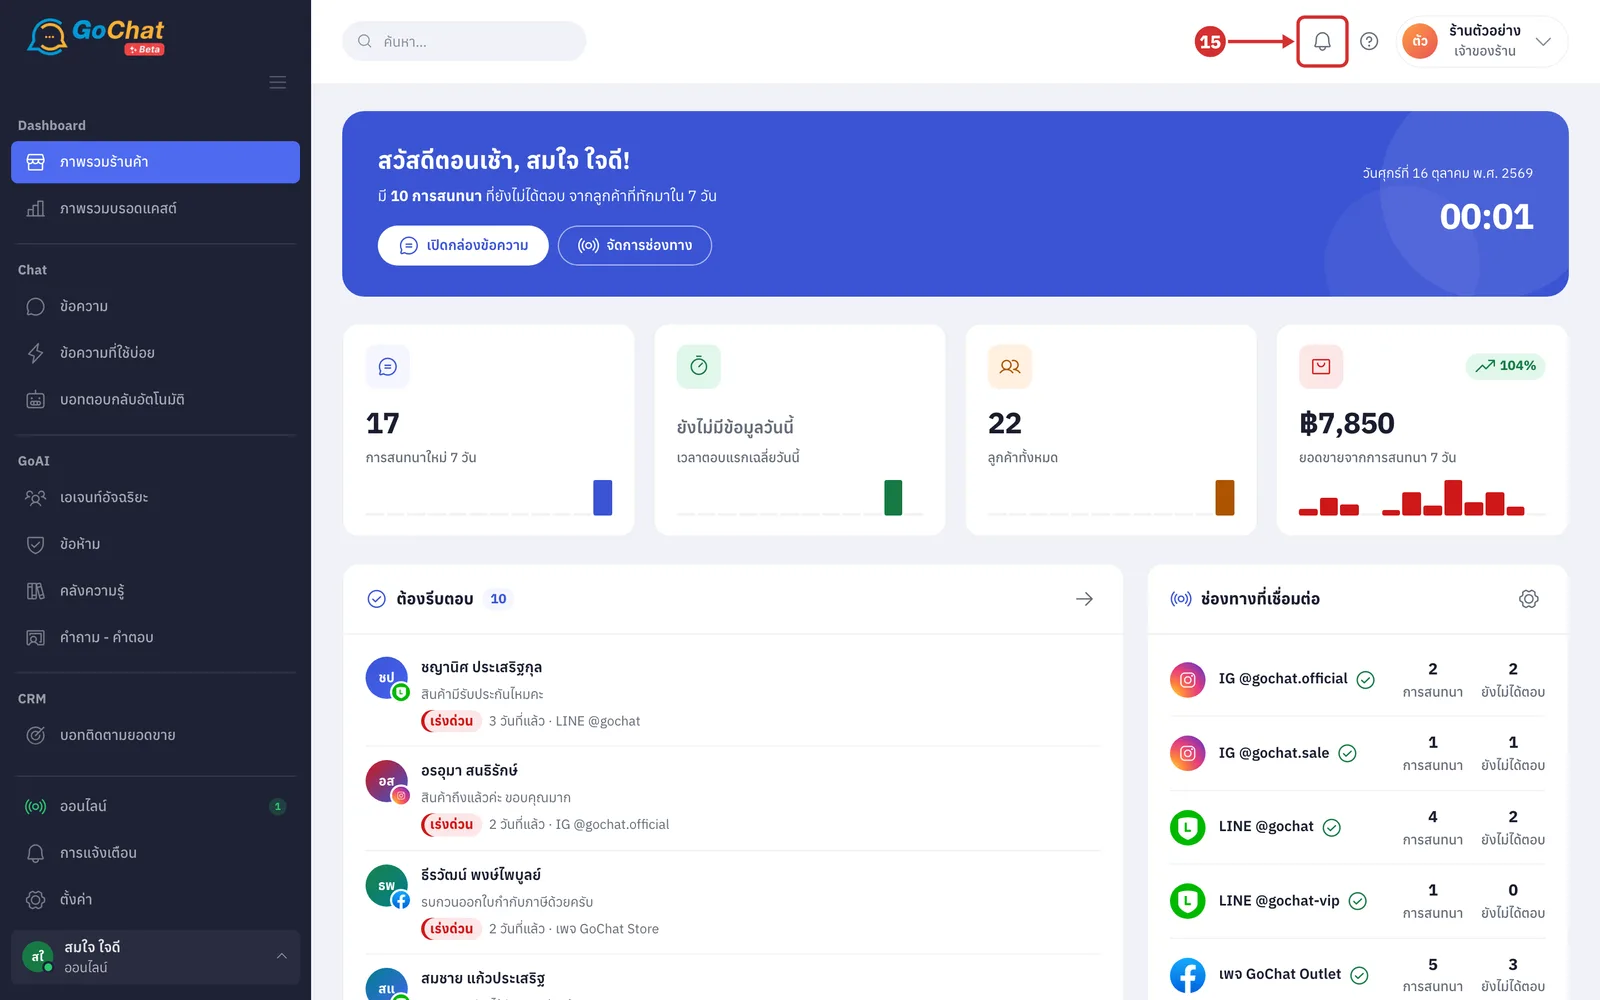
Click the bell icon in the top bar to turn the alert sound for new messages on or off (a crossed-out bell means the sound is off; set the sound and volume in Notification settings)
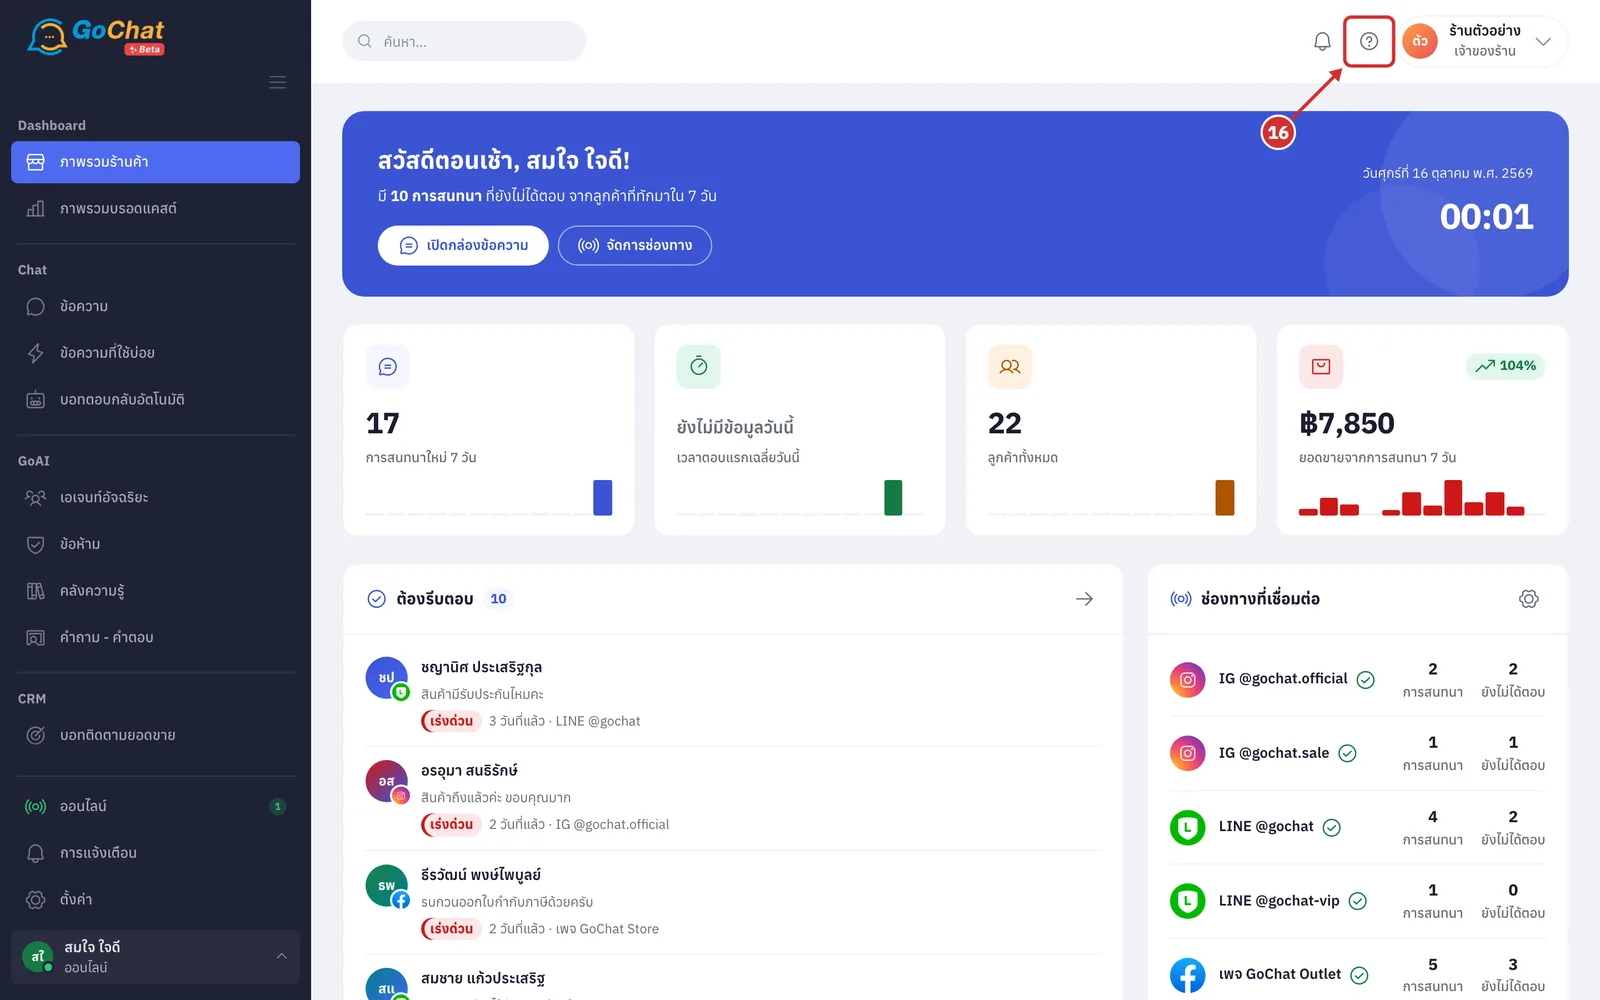
Click the question mark icon in the top bar. The help center opens in a new tab
Click the shop name at the top right to open the shop menu
ร้านทั้งหมด (All shops) / ร้านนี้ (This shop) — switch between the shops you can access and the current shop only
สลับร้าน (Switch shop) — click another shop to work in it (shown when you belong to more than one shop)
เพิ่มร้าน (Add shop) — connect another shop in your account
Your name — opens your profile page
โหมดมืด (Dark mode) — turns the dark screen on or off
ภาษา (Language) — the system language (Thai)
ออกจากระบบ (Log out) — logs you out of GoChat on this device
Note: After you log in, GoChat opens the ข้อความ (Messages) page, where the menu bar is collapsed to icons only. Point at the menu bar to see menu names, or click the three-line button under the GoChat logo to keep the menu bar expanded.