

Shop settings
The ข้อมูลร้าน (Shop info) page sets the shop name your team sees, your shop's time zone, and the shop address the bot sends to customers, and shows your shop codes in the system. Only the เจ้าของร้าน (Shop owner) can edit it.
Editing shop info
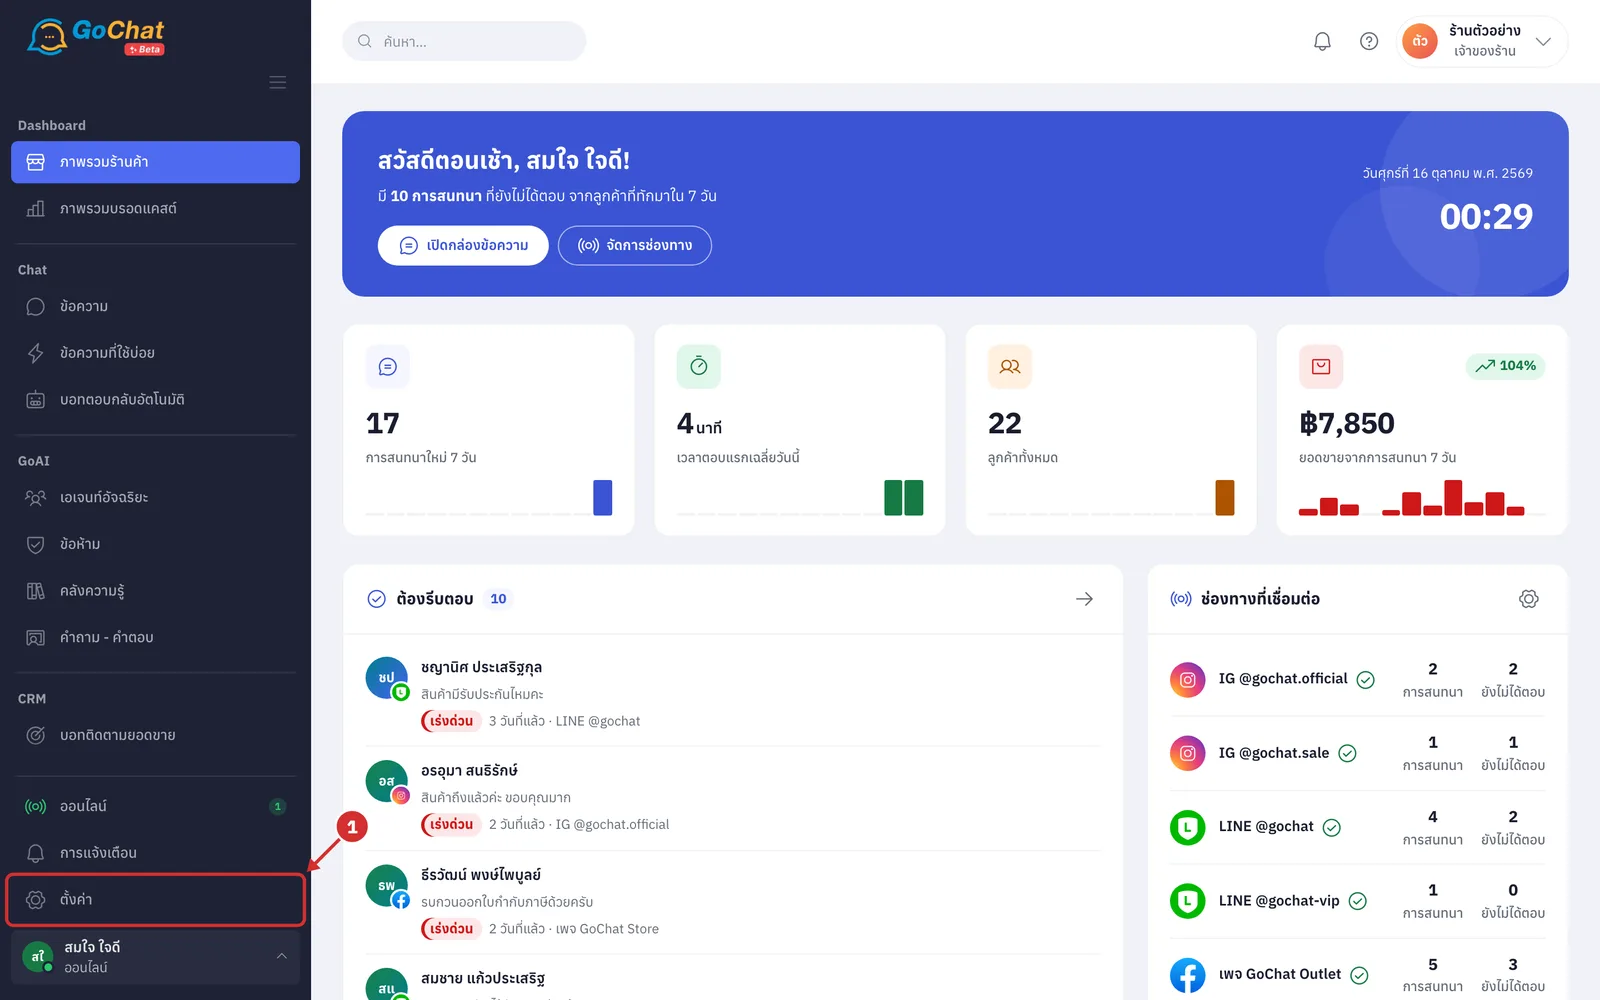
Go to the ตั้งค่า (Settings) menu in the left menu bar
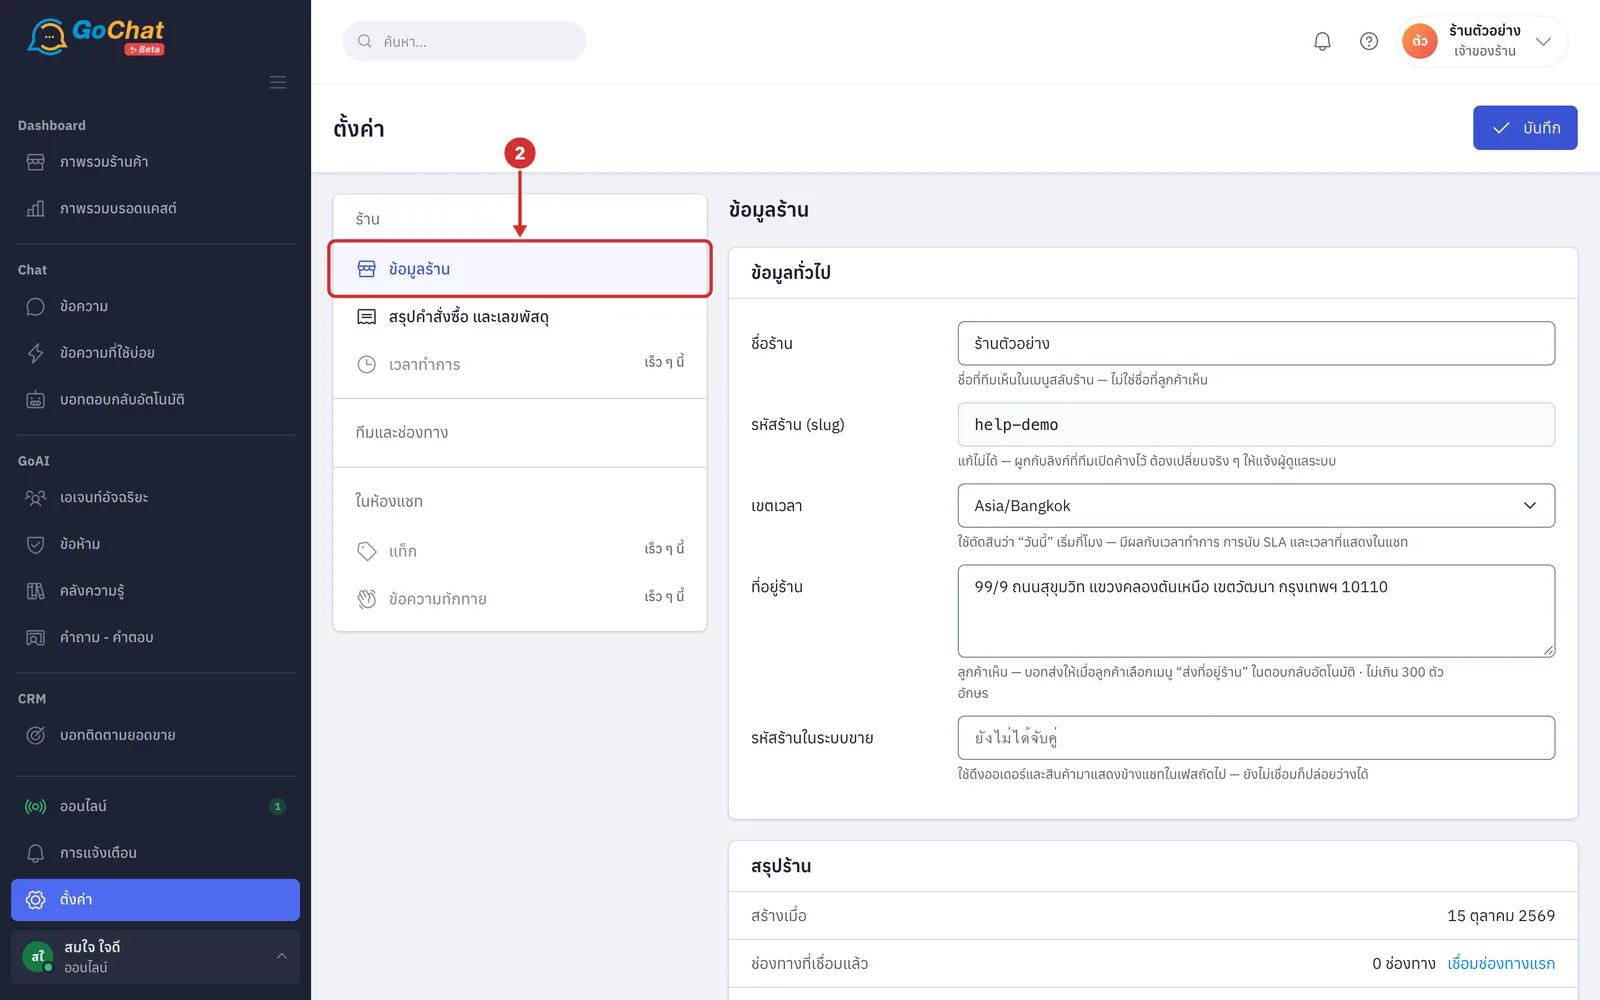
Under ร้าน (Shop), choose ข้อมูลร้าน (Shop info)
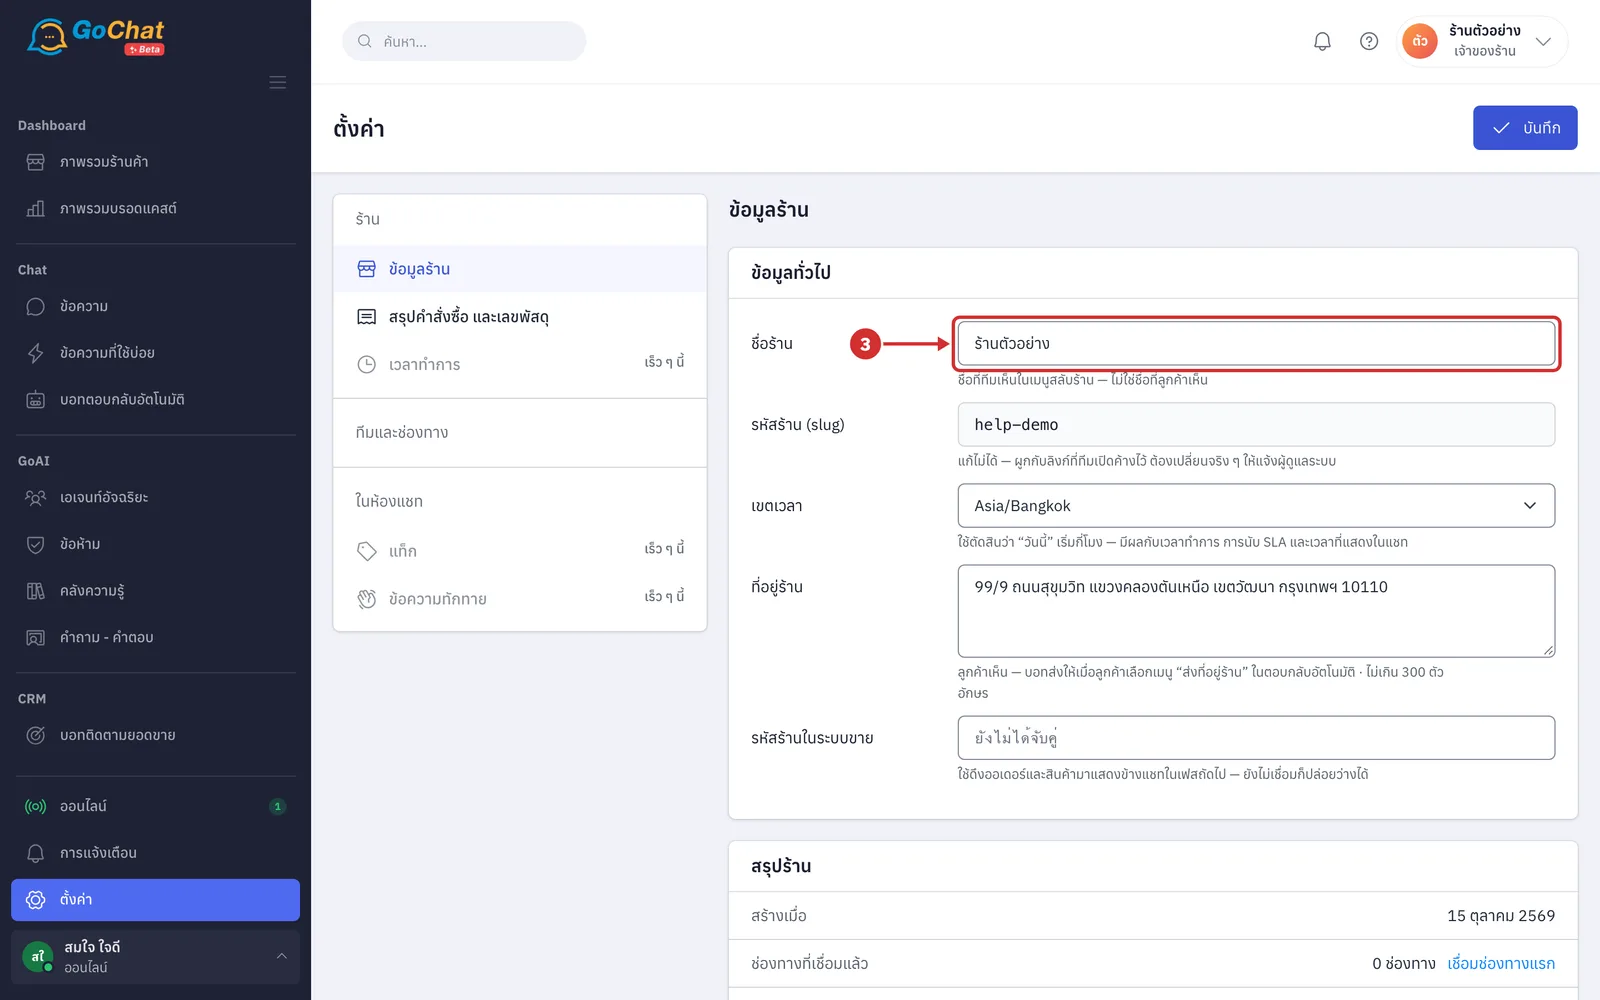
In ชื่อร้าน (Shop name), edit the name. It is required, up to 80 characters (it appears in your team's shop switcher; customers do not see it · for shops connected from GoSaaS, the name is changed back to the shop name in GoSaaS when someone in the shop logs in with a GoSaaS account; to change it for good, change the shop name in GoSaaS)
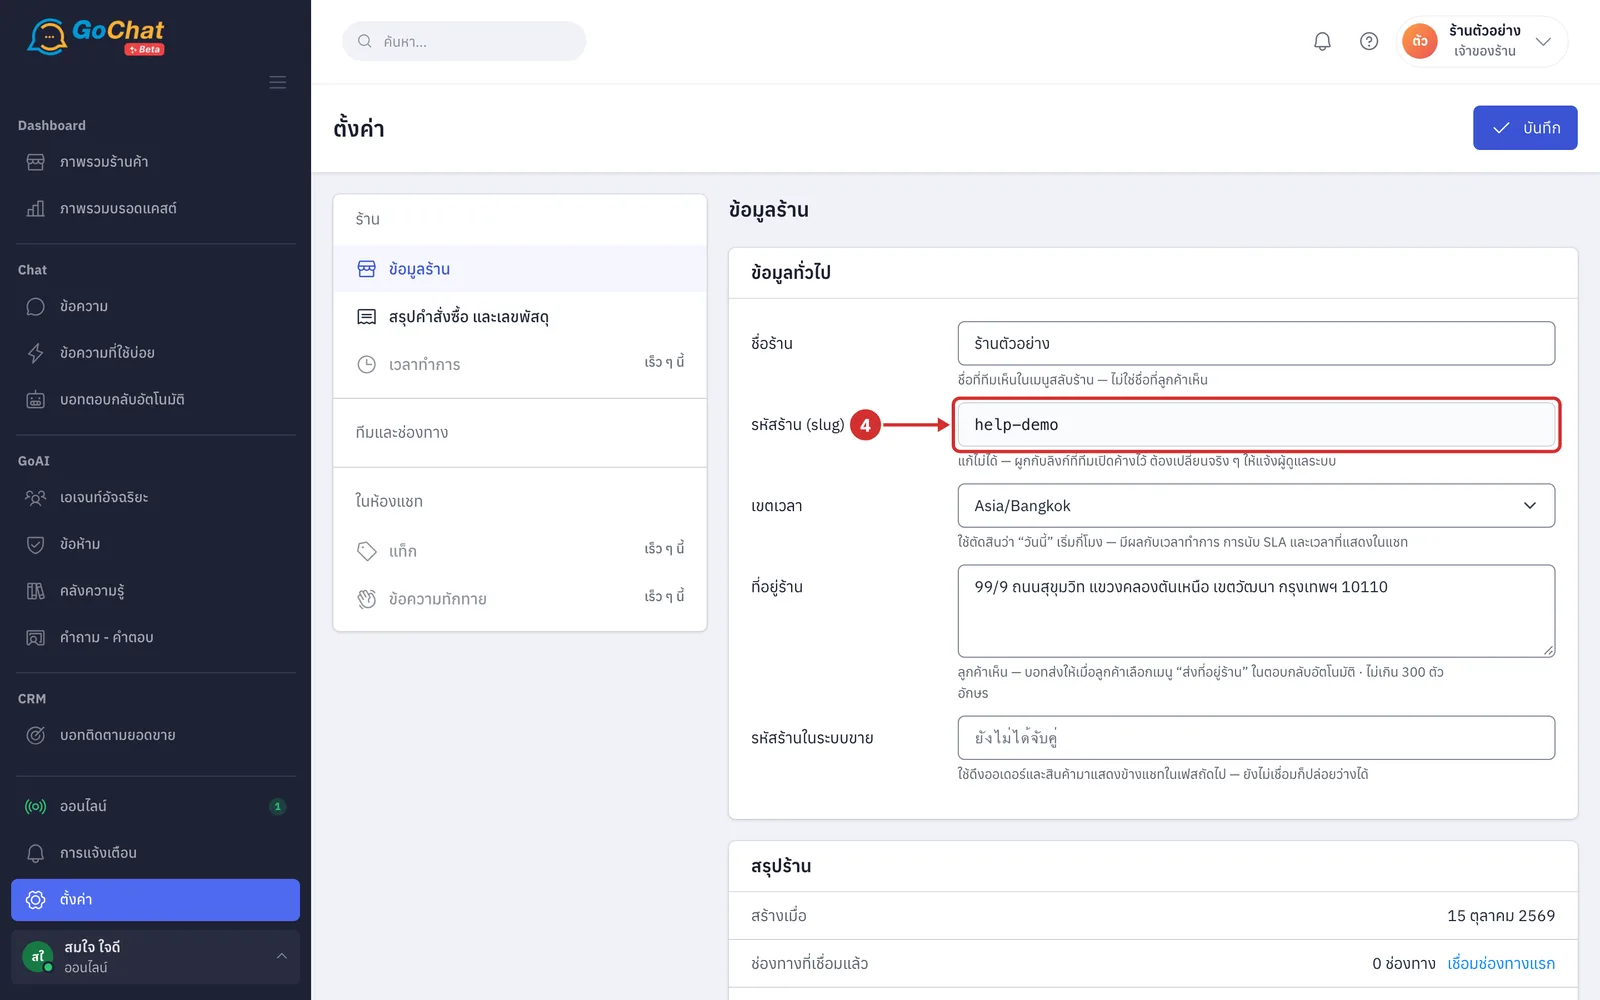
In รหัสร้าน (slug) (Shop ID), see your shop's code in the system. You cannot edit this field (it is linked to pages your team has open; if you really need to change it, please contact the system administrator)
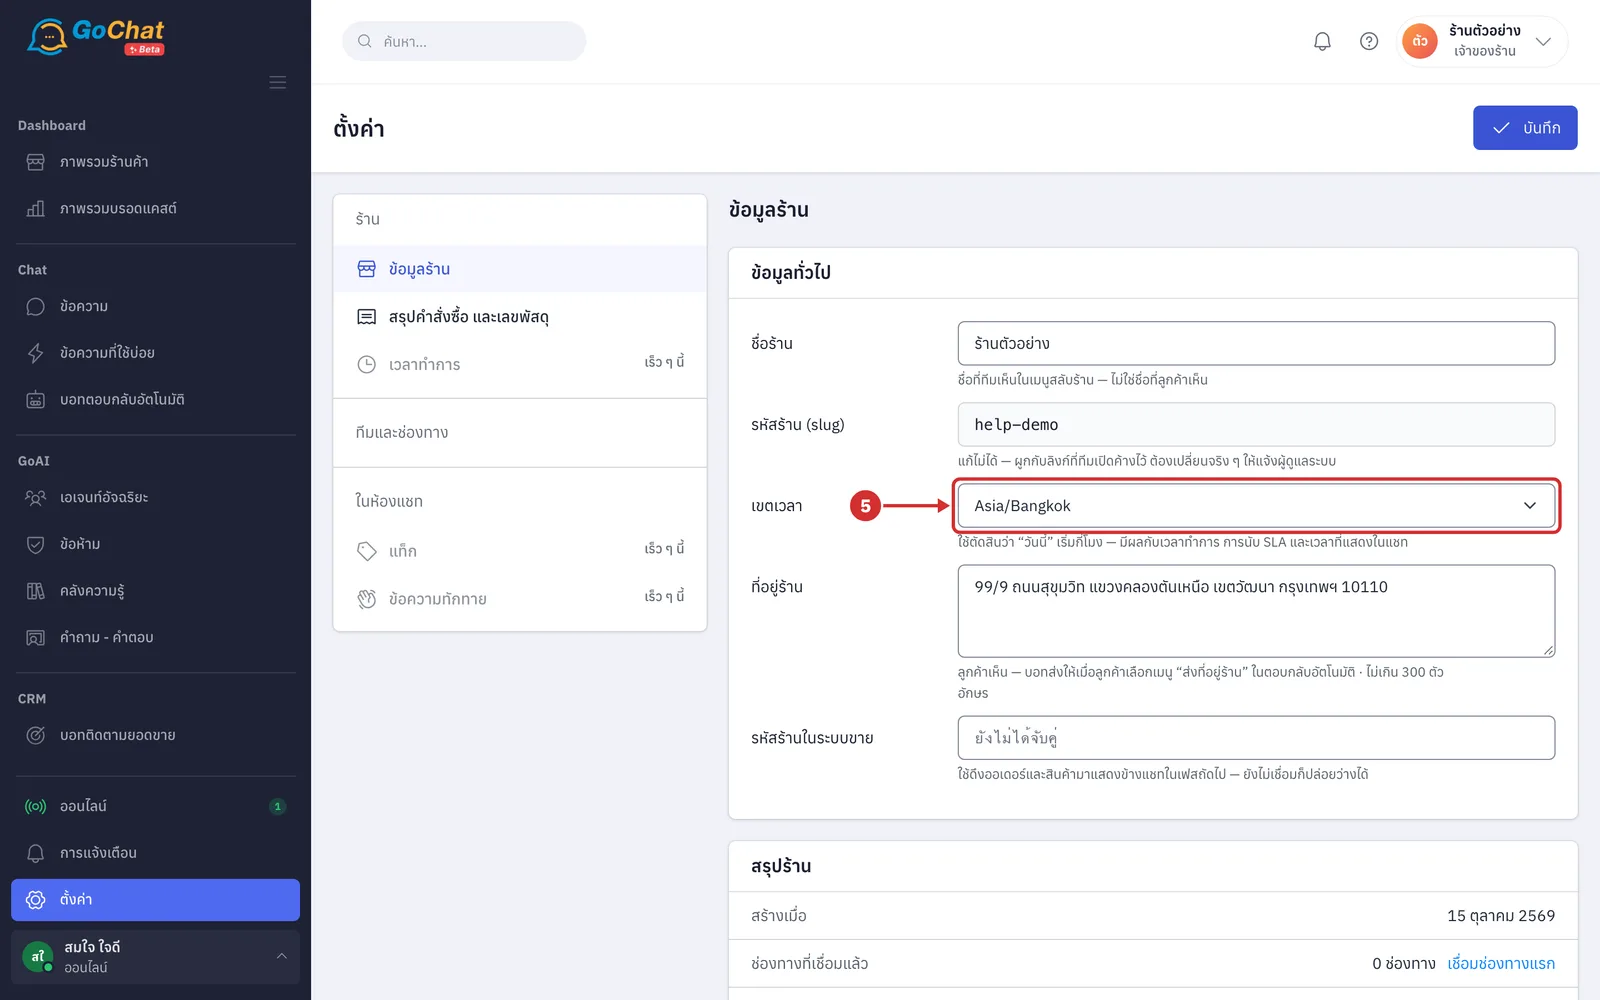
In เขตเวลา (Time zone), choose your shop's time zone from Asia/Bangkok · Asia/Yangon · Asia/Vientiane · Asia/Phnom_Penh · Asia/Kuala_Lumpur · Asia/Singapore · Asia/Jakarta · Asia/Ho_Chi_Minh or UTC (it decides when "today" starts and affects business hours, SLA counting and the times shown in chat; shops in Thailand use Asia/Bangkok)
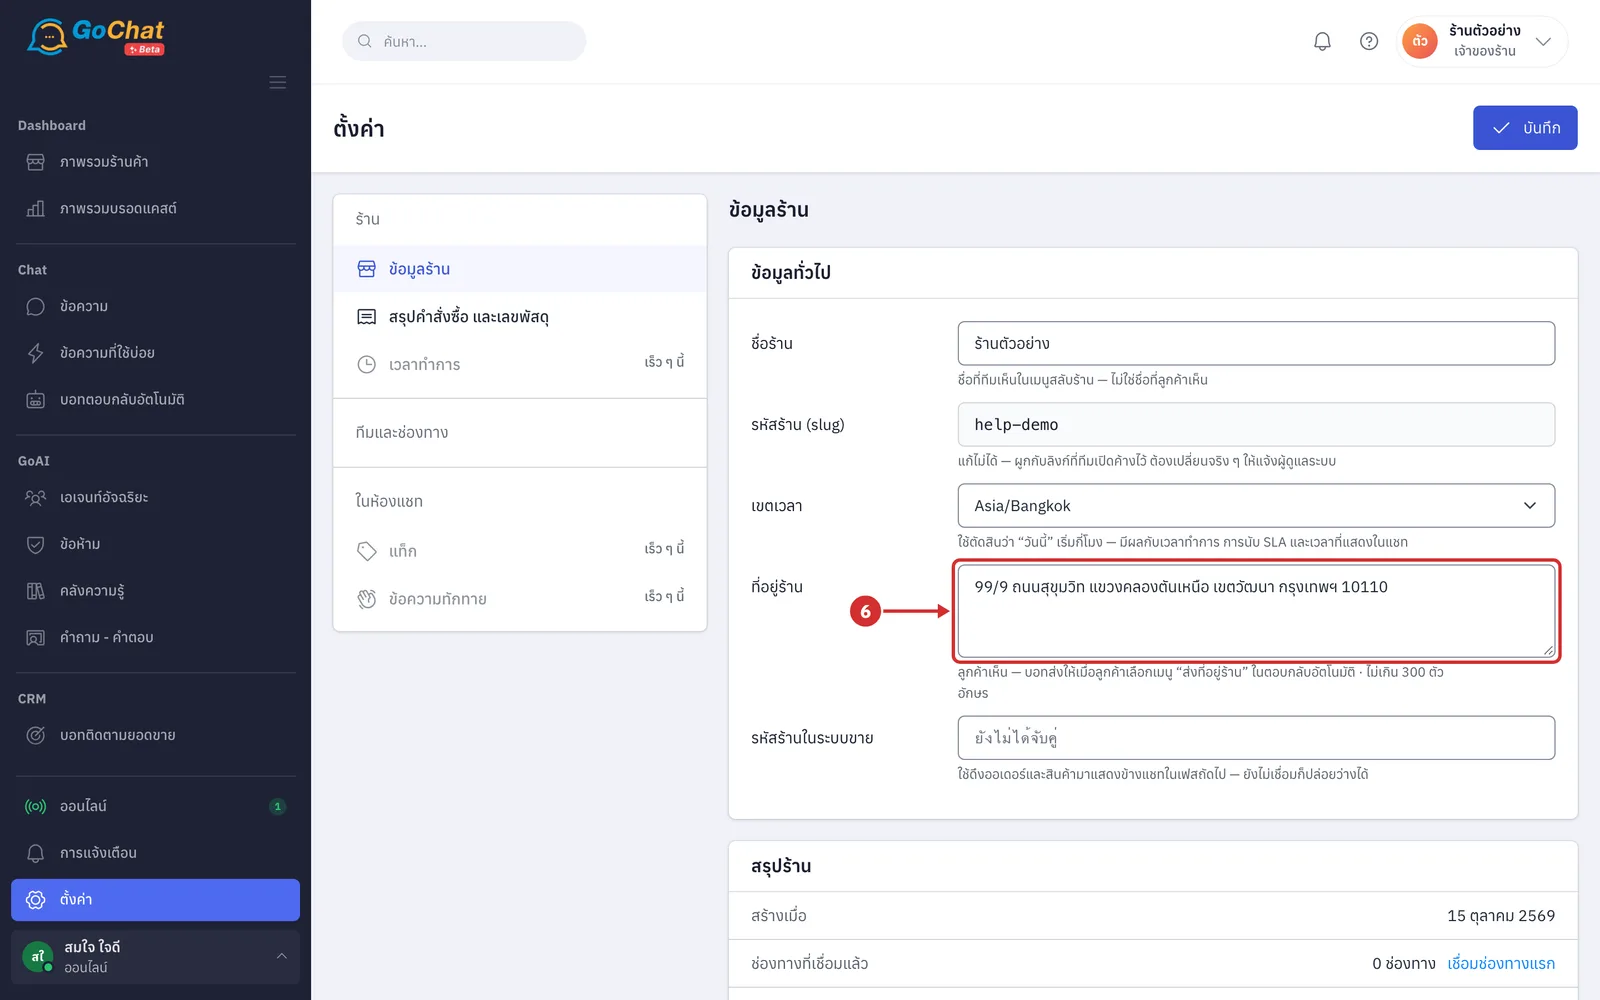
In ที่อยู่ร้าน (Shop address), enter your address, up to 300 characters; you can leave it empty (customers see it — the bot sends it when a customer chooses ส่งที่อยู่ร้าน (Send shop address) in auto-reply)
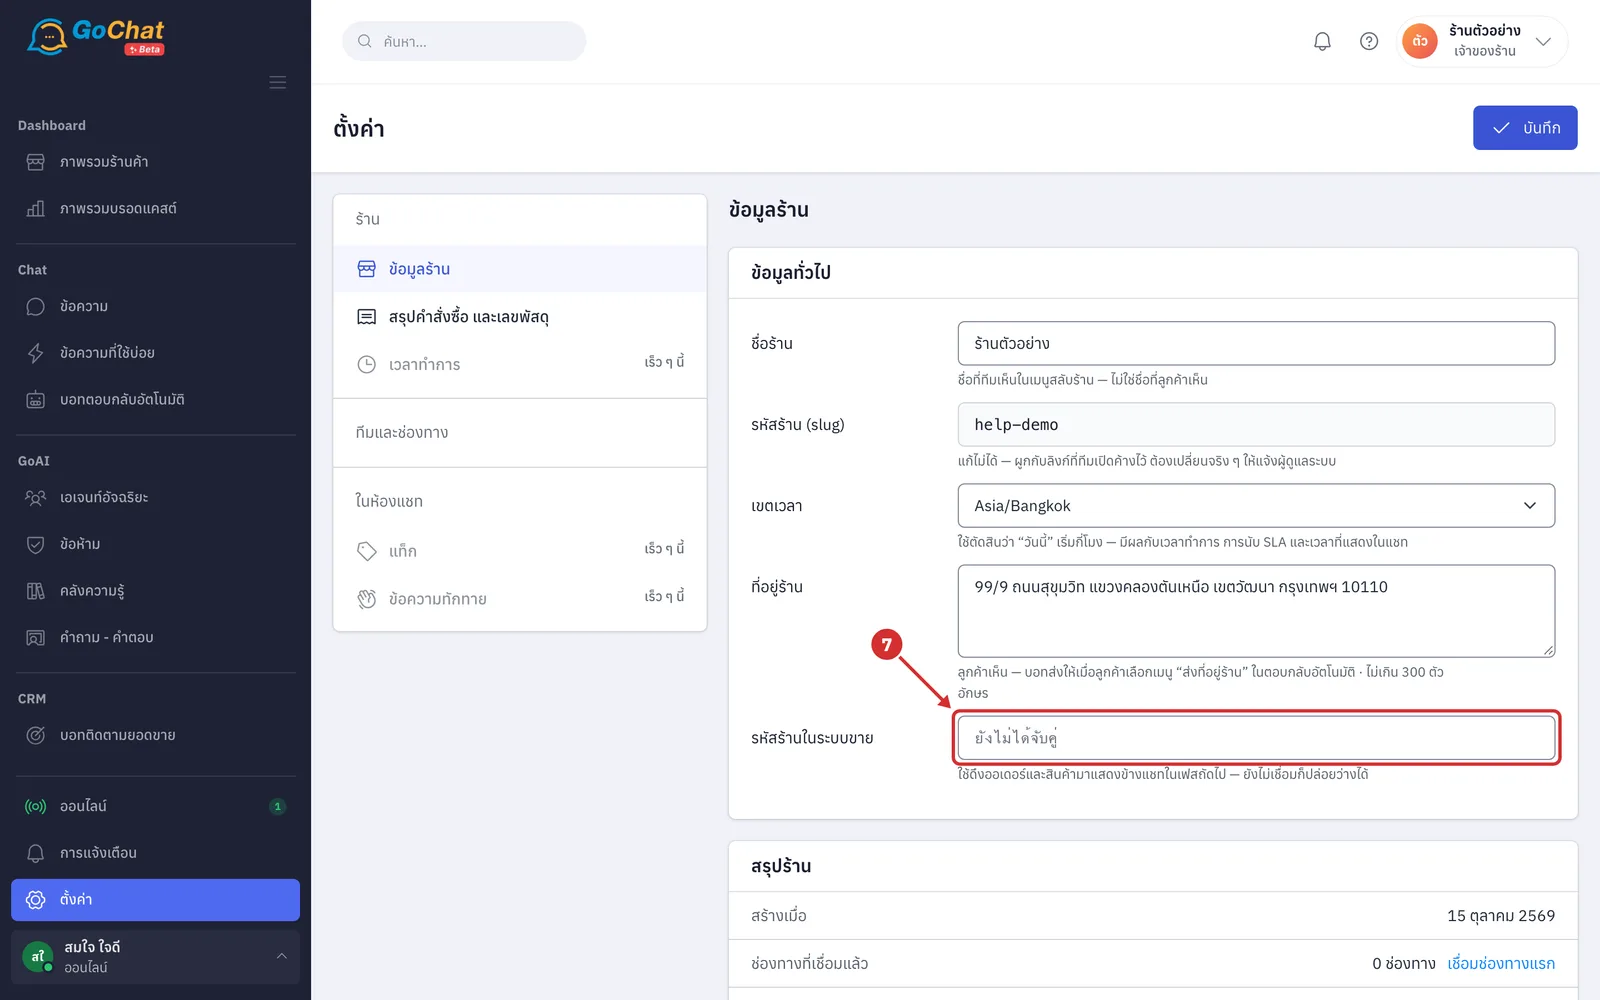
In รหัสร้านในระบบขาย (Shop ID in the sales system), check the shop code (for shops connected from GoSaaS, this field already holds the shop code in GoSaaS, which the system uses to match your GoChat shop with your GoSaaS shop, so you do not need to edit it; if you change or delete it, staff who log in with a GoSaaS account are no longer taken into this shop automatically · shops not connected to a sales system show ยังไม่ได้จับคู่ (Not matched yet) and can leave it empty)
Click บันทึก (Save) at the top right
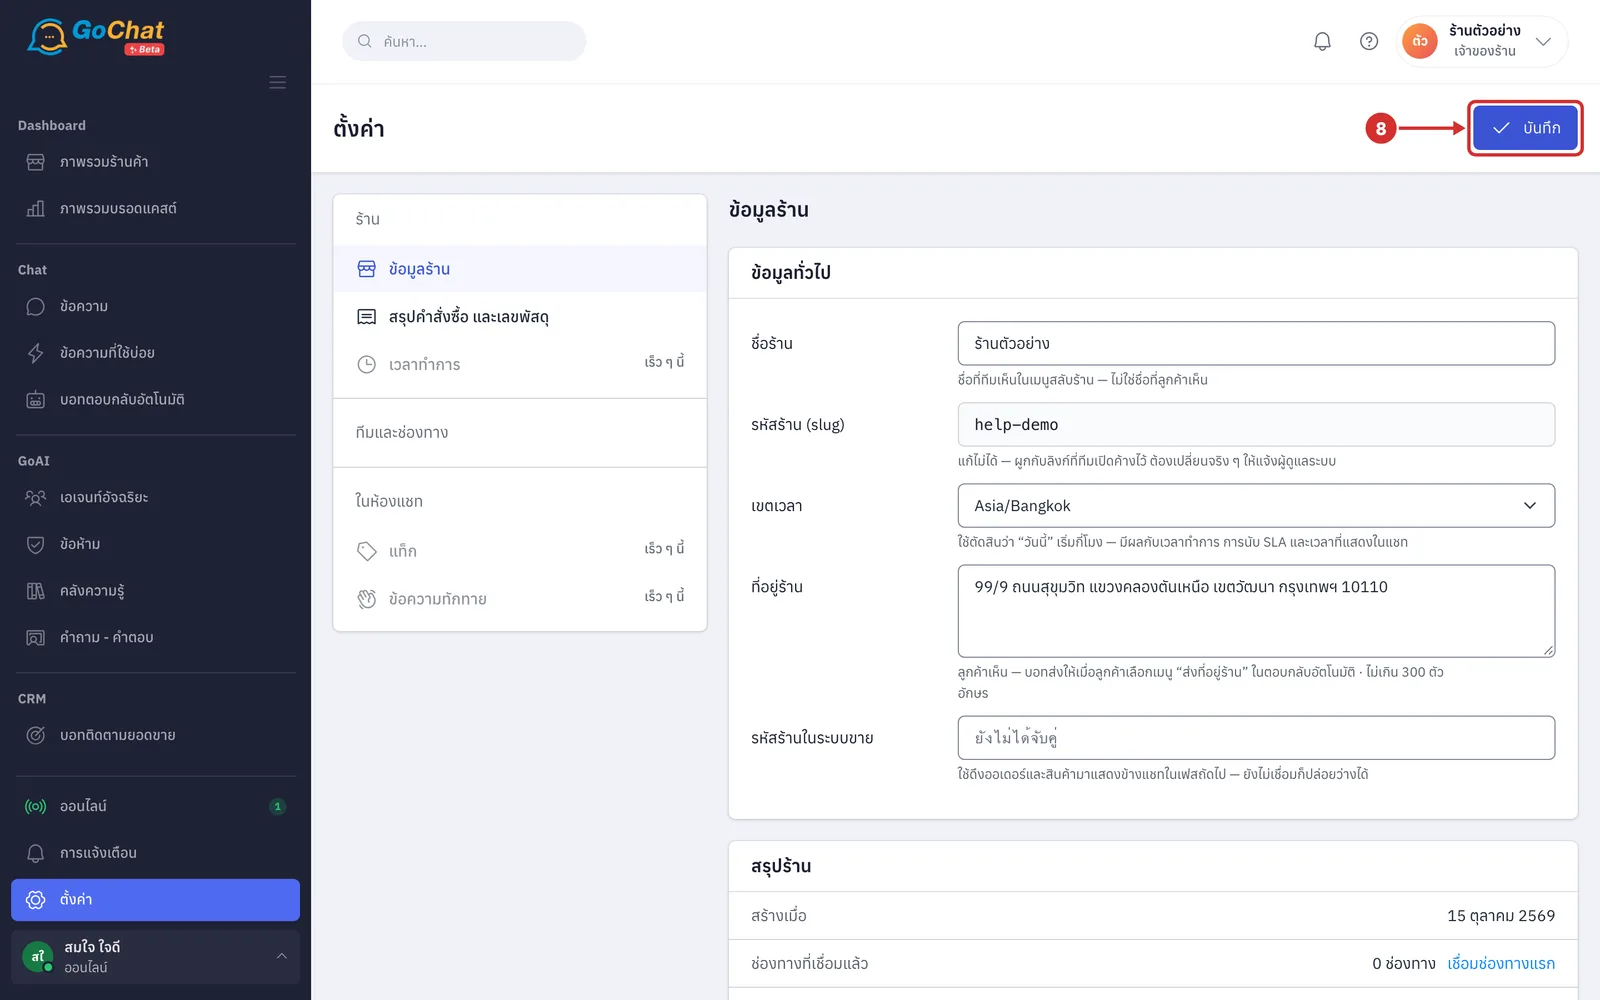
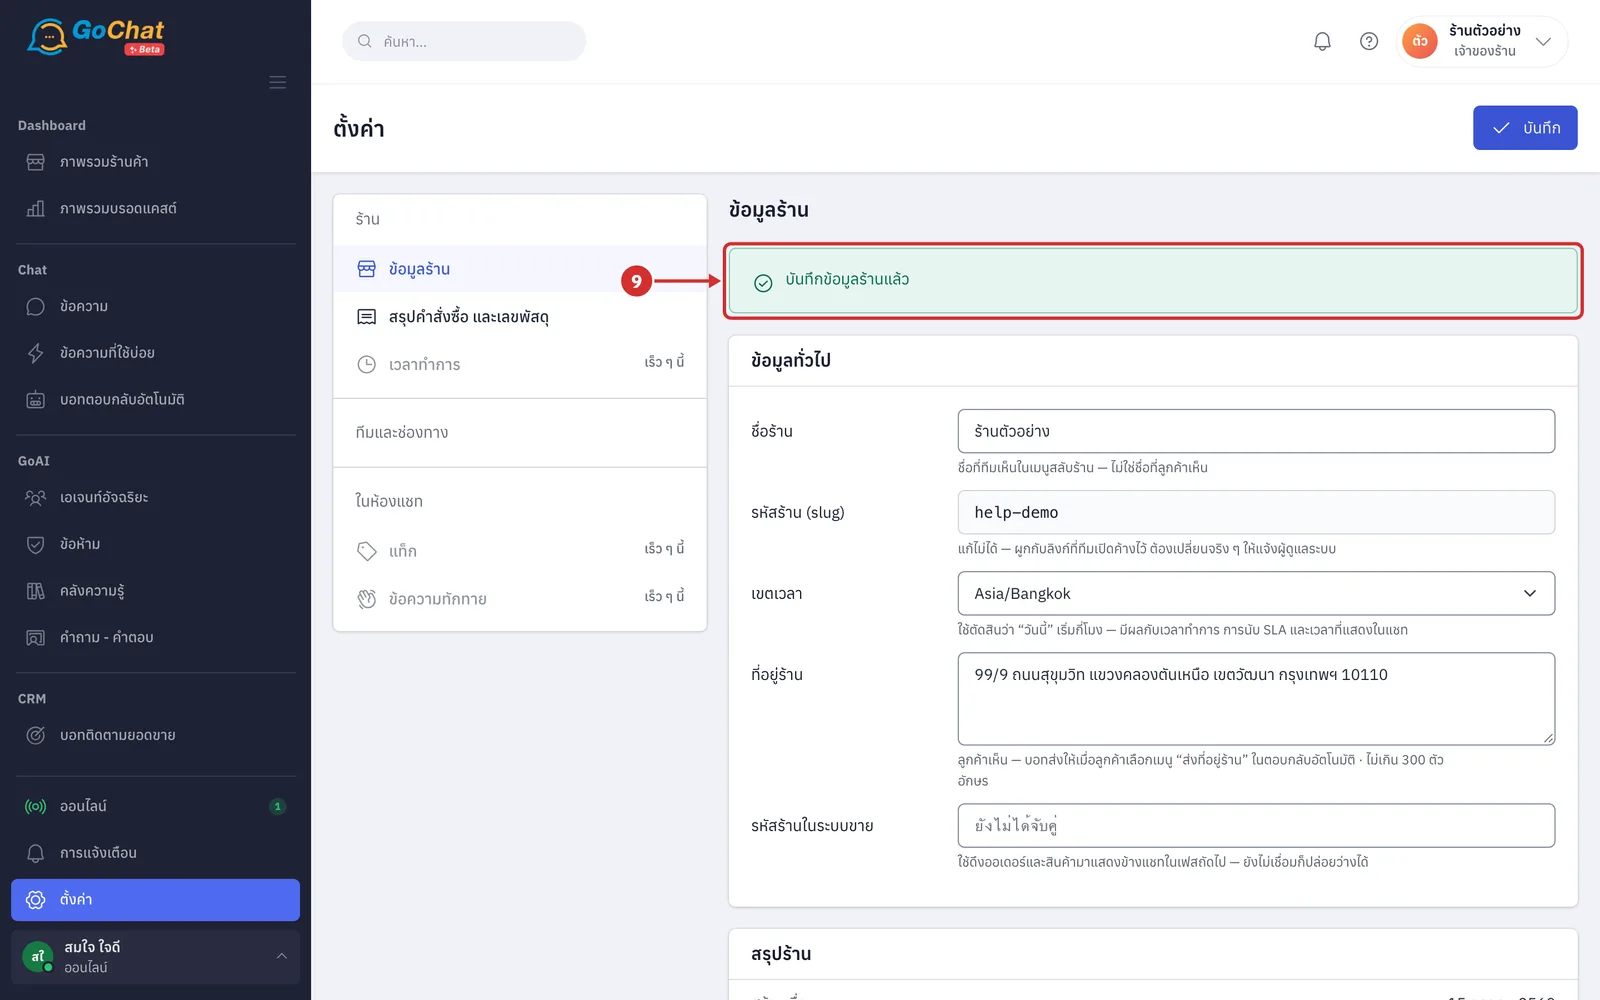
The system shows บันทึกข้อมูลร้านแล้ว (Shop info saved), which means it was saved (if it cannot be saved, the system shows the reason in a red box instead, such as ชื่อร้านว่างไม่ได้ (Shop name cannot be empty))
Note: Only the เจ้าของร้าน (Shop owner) can edit shop info. Other roles can open this page, but every field is locked and they see the ดูอย่างเดียว — ต้องเป็นเจ้าของร้าน (View only — shop owner required) label instead of the Save button.